Most of my social media sites are for inspiration and occasionally, I try to recreate some of the inspiration. This happened this week on Instagram with Riley Blake Designs. They showed how to make the cutest bookmark and I thought I would make a few for some of my friends.
As always, I usually do my own version, cutting out a few steps, but the original version can be found
HERE.
I followed their instructions up to a point, especially with the supplies, changing their measurements a bit:
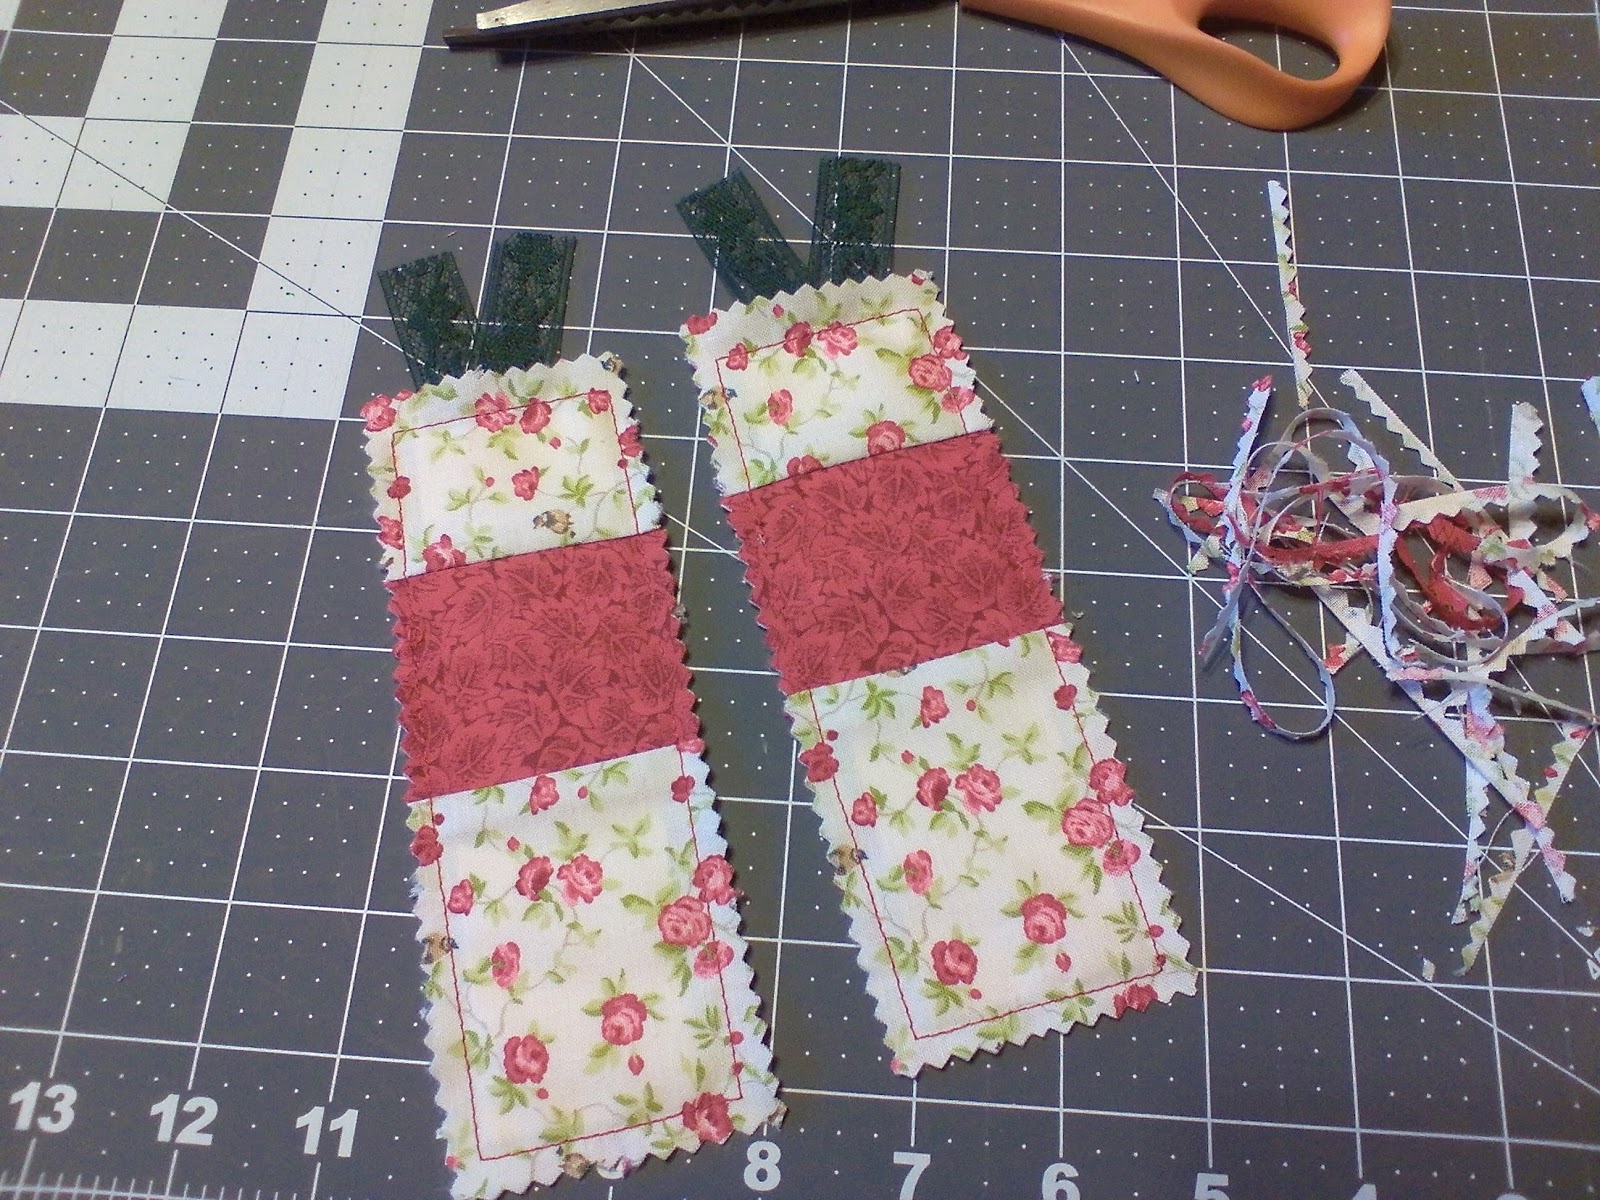
Scrap fabric measuring 2 1/2" x 6" per bookmark
Card stock scraps measuring 1" x 5"
Lace trim measuring around 5 inches
Coordinating thread
If using a pieced strip for one side of the bookmark, just trim it up to the measurement requirements after you piece it together.
Here's where I change it up a bit. I do everything in 1 step.
After piecing and getting my pieces cut to the measurements above, I simply layer the pieces with the card stock and ribbon in place.
Pin through the lace and fabric layers at the top and also at the bottom. I don't pin through the paper, but close to it to hold it secure.
Staring on one side, I sew at least an 1/4 inch seam all the way around. Once sewn, I trim all the sides with pinking shears, cutting both front and back, except for the fabric at the top. I pull each piece away and trim individually, so as not to cut the ribbon.
That's it! Honestly, it took about 10 minutes...if that.
I added some punched hearts and put these in the mail...but I kept one for myself!


1 comment:
I love mine!! Thank you!!
Post a Comment