When I was asked to make a memory quilt for a friend, I never thought it would lead to, now, 3 memory quilts. This one was for the wife of Larry.
Robin contacted me about a year ago and we started the discussion of making a quilt from the shirts of her husband, Larry, that passed away May, 2012. She picked out a pattern based on their love for stars. I've copied part of her message to me about the meaning behind their love for the stars. I am honored that she trusted me with these memories.
Larry and I both LOVED looking at the stars...he especially loved them. He worked at night and in the winter months when he drove home from work it was still dark. Many mornings he would get in bed and tell me how beautiful the stars were. One morning in particular, when he got home, he came to the bedroom door and said, “You just wouldn’t believe how many stars are in the sky...you’ve just got to get up and come outside with me and see them...it will take your breath away!” I put on a jacket and we walked outside and stood on the front porch. He was right...they were absolutely gorgeous! He held me in his arms as we looked up at the stars and then he kissed me under the stars. It was such a precious moment then and is now a precious memory I’ll never forget.
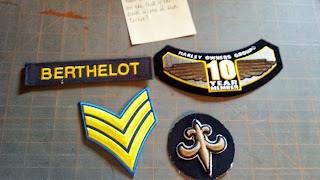
I thought this was pretty neat since my husband loves his bike so and his biker buddies.
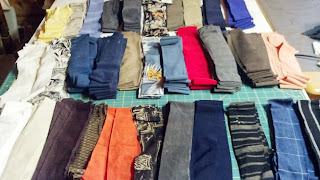
With the help of a friend, we prepared all the shirts so that I could then cut them into these strips.
I felt that these shirts were too pretty to cut up into strips and hoped that I could use the full design some way, maybe in the border of the quilt. At this point, I just wasn't sure, only that I didn't want to cut them up.
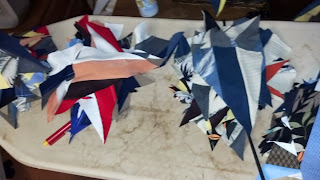
The pattern Robin chose was called the Star Gazer. The pattern of the star is made from these strips, with the white on the top and the bottom. I created all the strips first.
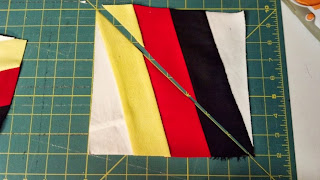
I made my own template for making the star. In this photo, I didn't place the line correctly, but you can see that to get the desired cut, it had to be placed at a certain angle.
Then, this block was cut and twisted so that the white strips come together to make the star.
Here's one with the marking on my template laid out correctly.
Then, I mixed all the cuttings up and constructed my stars and blocks.
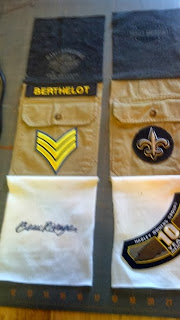
If you look back to the picture of the box of shirts, you will see that the top one is a tan shirt with pockets. I saved the pockets and decided they would make the perfect place to put the patches. I put these on the border.
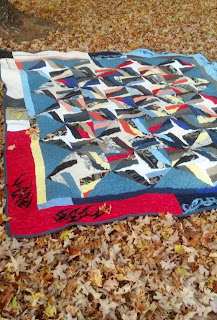
I decided to use those beautiful, silk shirts in the border, with each design of the 4 shirts on each corner.
The silk material did not like being on the edges and began to fray quickly. While I normally do a hand stitched binding, stitched to the back, the fraying material worried me. So as soon as I was done quilting, I rolled the backing to the front and machines stitched it down, hoping that would help to hold it better.
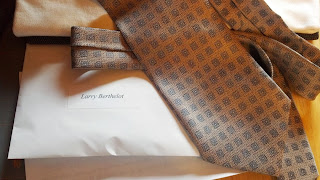
The quilting is just an all-over looping design and because of the different materials and seams, my thread broke often. I was re-threading and changing needles constantly. At one point I got a huge wrinkle in the backing and I spent a few hours taking out my thread (never an easy task). The silk material moved during the quilting, but only slightly. I don't think it's very noticeable, except to me!I decided to put the entire tie on the back of the quilt and am pleased with how it turned out.
I hope that it brings many wonderful memories to Robin of her sweet man, Larry.









 artist Deborah Boutwell
 artist Deborah Boutwell
 artist Frances Lewis