Bloglovin'

Follow on Bloglovin

Saturday, July 26, 2014

Basic Denim Skirt with some Twists

I love to wear skirts, especially in the summer.  Not that I have a great tan to show off or pretty toenails, but I don't care if my toenails have never see a pedicure or my legs are white as sheets.  When summer comes, I pull out my skirts, add my t-shirts and my sandals and stay comfortable.

I might have mentioned, several times, that I'm going to California in a couple of weeks.  I really wanted some new clothes to wear but no money for the extra expense.  So to my material stash I go.

I had bought some light-weight denim several months ago while visiting the Amish community store.  I believe it's what the men's trousers are made out of it.  It also has just the tiniest bit of stretch to the fabric.  I figured it would make a perfect traveling skirt, but I wanted more than just a basic denim skirt.

I wanted this!


http://iveyabitz.com/shop/112-22/Baedeker-Skirt.php
 
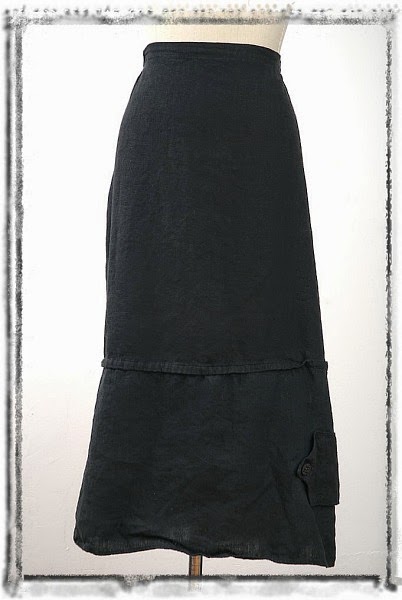
If you happen to click on the link for those pictures, I'll warn you...the prices are outrageous.  I mean, over $500!  Can you believe that!
So I got out my $4 a yard material, pencil and paper, measuring tape and started drawing.  Yes, I based my drawing off of this skirt but it is not made like theirs.
First I measured myself.
That was depressing.
I'm basically an apple with only a couple of inches distinction between my waist and bust.
But I have lost 22 pounds....so that is slowly changing.  I used to not have any that distinction.
 
Designing my own pattern, I drew off a basic flared skirt on the fold of my fabric.  You can see from the picture above that I adjusted my first drawing and I shouldn't have.  I made it too big. 
I drew off an inch to make a pleated seam (like they have).
 
How I changed my pattern starts here.
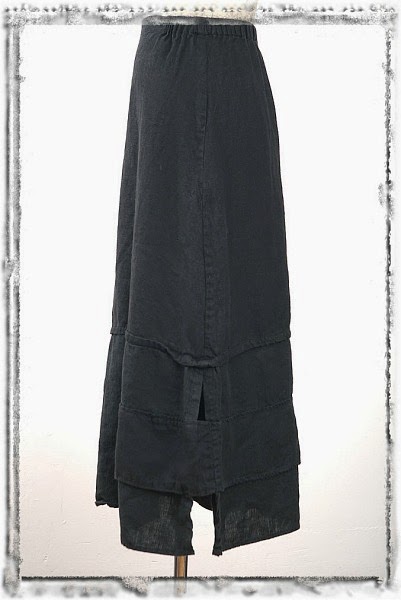
As you can see from their picture, the back is made with 4 pieces, 2 for the top panel and 2 for the bottom panel. 
I simply cut two pieces on the fold for my front and back.  When I went to add my side seams, I decided to put my split on the side.
 
What I really liked about this design was the belt and buttons across the bottom of the skirt.  I added that, but I changed up how the belt was formed.  I needed to make the belt before I sewed up the side seams, because one end of the belt is sewn into the side seam and the other end of the belt goes over the side seam.


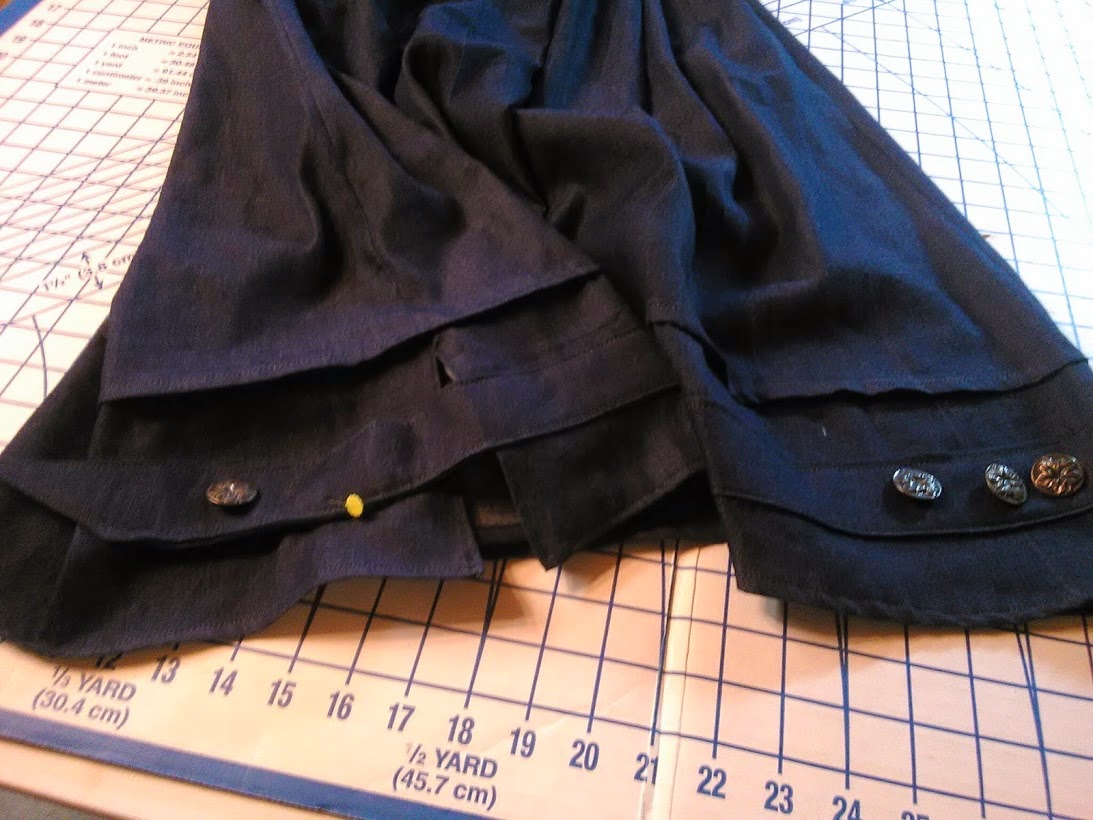
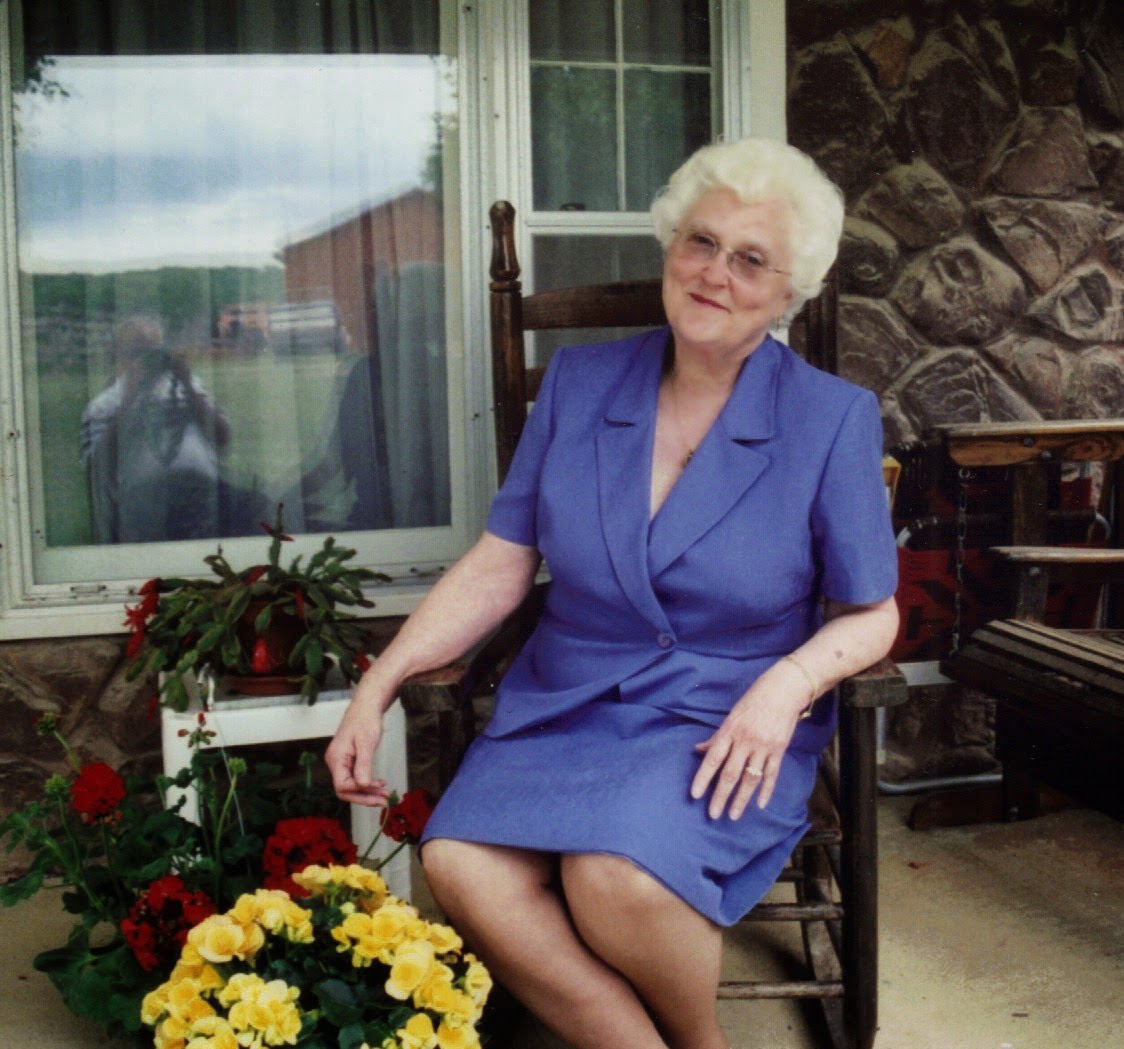
Like them, I added some vintage buttons from my grandmother's stash.
 I also added a waist band with a double row of elastic.
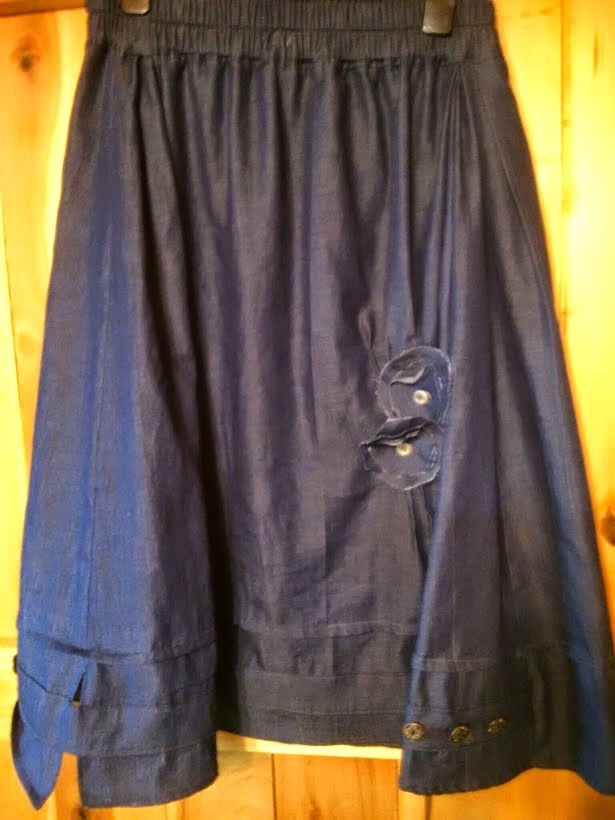
 And the biggest thing I did was turn the skirt around.  I liked the look of the three buttons in the front, my buttoned flap goes to the back.  The skirt is fuller in the front too.  So I took one of their other skirt ideas and made some small pleats and added fabric flowers with button centers.


I've got it in the wash now to get rid of some of the blue dye and to wash out my chalk markings.
I'm pleased and I think I'll go tell Ken how much money I saved him today!

Adding Details to Applique

Playing with my flower pot quilt blocks...and I do mean playing....has been so much fun.  I'm inspired by this summer's flowers, their color and their shapes.  However some are my own imagination while I play with fabric.

I think applique and embroidery just go naturally together and that's when the imagination really takes over.  Do I add stems in fabric or thread?  How to I give the flowers a 3-demionsional look?

And more importantly...for those that are not a fan of applique or embroidery...how do I do it?

As I was adding the details to my latest block, I thought I would snap a few pictures while I added the anthers and filament to the flower...yes, I had to go back to the science books to remember the parts of a flower.  If you look closely at a flower there is always a little fuzzy part and I was trying to figure out how to replicate that in my flowers.

I decided to use a bullion stitch, which uses a technique of wrapping the thread and pulling it tight.


 Here's the finished block.  I did a satin stitch for the stem of the flower with some vines running every which a way.  I took that idea from my grape vine.  I love how they just grab how of everything.

 For the look of a stamen (the anthers - fuzzy part at top, and the filament - the stem part), I did a long straight stitch and a bullion stitch at top..
To start the bullion stitch, bring your thread up at the place you want your stitch to begin. Then "take a bite" at the place you want your stitch to end, bringing your needle back up to the beginning stitch.  Do not pull the needle through yet.
 
Holding the needle up off the fabric, wrap the needle somewhat tightly 10 to 15 times...just depending on how long your stitch is.
Now pull your needle through the fabric.  The wraps should stay near the fabric, you may have to hold it with your finger as you pull the thread through.
 
Pull the thread tight, pulling it back to lay next to the straight stitch.
Put your needle back into the same place you took the "bite" earlier and pull you thread through to the back.
I added a bullion stitch to each straight stitch.
Give it a try and let me know if this was helpful.


Saturday, July 19, 2014

For the Purple

If you have followed my blog any length of time, you will know that over the past three years how and what I quilt changed drastically because of an inheritance I received after my mother's death.  I inherited her quilting/sewing machine.

The first thing I did was teach a beginners quilting class.  I made all my sample blocks in purple because purple is the new color I love to hate.

I love it because it is beautiful.

I hate it because it represents a new chapter in my life, it reminds me of my loss.

Sometime during the fall of 2011, someone put a purple ribbon on my mailbox.  It was a sweet gesture, but I hated it.  I hated that it represented a cancer that was ushering my mother into heaven entirely too quickly.

Pancreatic Cancer.

In case you didn't know, pancreatic cancer is one of the leading causes of cancer related deaths. 

What are the key statistics about pancreatic cancer?


The American Cancer Society’s most recent estimates for pancreatic cancer in the United States are for 2014:
  • About 46,420 people (23,530 men and 22,890 women) will be diagnosed with pancreatic cancer.
  • About 39,590 people (20,170 men and 19,420 women) will die of pancreatic cancer
Did you catch that?  Nearly every one that is diagnosed with this terrible disease will die within a year.  A few lucky ones, that somehow were able to be diagnosed early and have surgery live up to 5 years and because of the work of researchers supported by Pancreatic Cancer Action Network and other foundations fighting for this cause, those people are living longer.
 
The problem is, there is no early detection tests, no yearly exams to monitor any strange activity in your pancreas.  It's usually after it's already spread or if you happen to be going through some other tests that you are diagnosed and 1 in 67 people will be diagnosed.
 
It took my mom in 6 months.
 
 
It wasn't until I was buying a new calendar, standing in the office supply section, that I got mad and knew I had to do something.
 
Mad because I was wanting something purple to show my support of those fighting pancreatic cancer and all I saw was pink.
 
Then I started questioning...why doesn't pancreatic cancer get the awareness, support, and funding that breast cancer does.  Breast cancer has become a survivable cancer because of awareness and people supporting research and funding.
 
I want people to see purple and instantly think "pancreatic cancer and how can I help".
 
So early 2014, I joined the core group of PanCan Nashville as the volunteer chair to help in the events, awareness, and funding through Pancreatic Cancer Action Network, based out of California.
 
Next month, I will be attending my first training in California along with all the core group members across the country.  The organization will be handling all my travel needs and necessities while I'm there for 4 days. 
 
I however, am in need of travel money and it's humbling to tell you that I need help and to ask for help.
 
We are a simple family with simple incomes, with very little "extra" for splurges like this trip.  So I'm really pushing selling my quilts or any of the items that I make to help cover my costs for this trip.
 
I've listed my quilts on Craigslist, on Facebook, and on my Etsy store.  If you see anything you like, please let me know.  I've marked the quilts down by $50 on my Etsy store and would be willing discuss any markdowns on other items if you would like to help me on this trip and the prices are too high.
 
I have a purple quilt for sale, with a purple ribbon and a little girl wearing  her purple ribbon.  I've embroidered "Faith & Hope" on the quilt. 
 
Faith because through circumstance you have to have faith in God that He is in control, even when circumstances are terrible.
 
Hope because this life is not where our hope should lie.  No matter what happens here, my hope is God and the future He has for me, here on Earth or there in Heaven.
 

Please share this post with your friends, encourage them to help me so that I can in turn help bring more awareness that will in turn bring more funding, more research, more improvements to more lives.


Tuesday, July 1, 2014

Smocking 101

The technique of smocking is actually the process of getting pleats into an outfit and then doing embroidery over the pleats which will hold them in place.

There are machines that "smock" for you, or get the pleats into the outfit.  It's a strange contraption that uses bent needles to run through the fabric.  You can move the needles around, and the pleats take on a different look.

Half Space vs Space and a Half
 I'm doing an outfit for a newborn, so the pleats are gong to be tiny.  The last time I used my machine I was doing a larger outfit so the needles were set wider apart (picture above).  There are notches in the barrels of the pleater and you can set the needles every half space or space and a half.  Every half space has them right next together each other (like the ones on the end of the barrel above). 
 Using quilting thread, each needle is threaded.  I run a piece of wax or freezer paper through my machine first, it kind of waxes the machine and the thread for the fabric to move through easier, it will also hold my threads for the next time I want to use the machine.  Roll the outfit onto a dole stick and start feeding it through the machine.  I'm using 14 needles above.  The fabric will push itself onto the needles, but you have to help it along at times.  It's really important to feed the fabric through straight.
 Once it's all through the machine, I pull up enough thread to be able to play with the adjustments of the pleats.  Leaving the thread in the wax paper, I cut the threads and tie in a big loose knot.  Laying the dress flat, I spread the pleats out loosely and tie another knot in the other end of the thread.
 This style of dress is called a Bishop Dress because the pleats go all the way around from back, over the sleeves, the front, over the other sleeve and around to the back again.  It will button down the back or the front, depending on which you prefer.
 I made a pillow for blocking my pleats several years ago.  It has a basic pattern for the Bishop dress, showing the placement for the center, sleeve seems and the back.  Each side of the pillow has different size patterns
 Taking the dress, I match up the center front, the sleeve seems and back folds to the pillow and pin.  Then gently I pull the threads until the dress is laying curved flat to the pillow.
 Once I have the basic form I'm looking for, I tie off my threads more securely.  Now I'm ready to start adding the embroidery.
Simple....right?