My quilting heritage and legacy is very important to me. It' a part of my memories of my childhood, becoming a wife and mother, and remembering my mother, my grandmothers, and my aunts....basically, the women that surrounded me. My memories include sitting on the floor playing dolls while these women worked with needle and thread around me. My secret hiding places were under quilting frames and sewing machines. I hung my clothes from a quilting frame suspended from the ceiling of my grandmother's attic.
I guess it was a natural thing for me to be given all the unfinished projects of these women when they passed away. I cherish the unfinished as much as I do the finished. I see the beauty in what was to be as much as what was.
But I know that I am little different in that. So, my goal is to finish not only my projects, but theirs. So for Christmas, I started around October pulling out my mother's and grandmother's (Carathers) unfinished projects and seeing if I could make quilts for my children. I take after my grandmother in that there is an abundance of unfinished projects to chose from in her treasures. My mother was more about finishing what she started, so I only had a few blocks that had been left over and one of her very last projects she was working on during her final days.
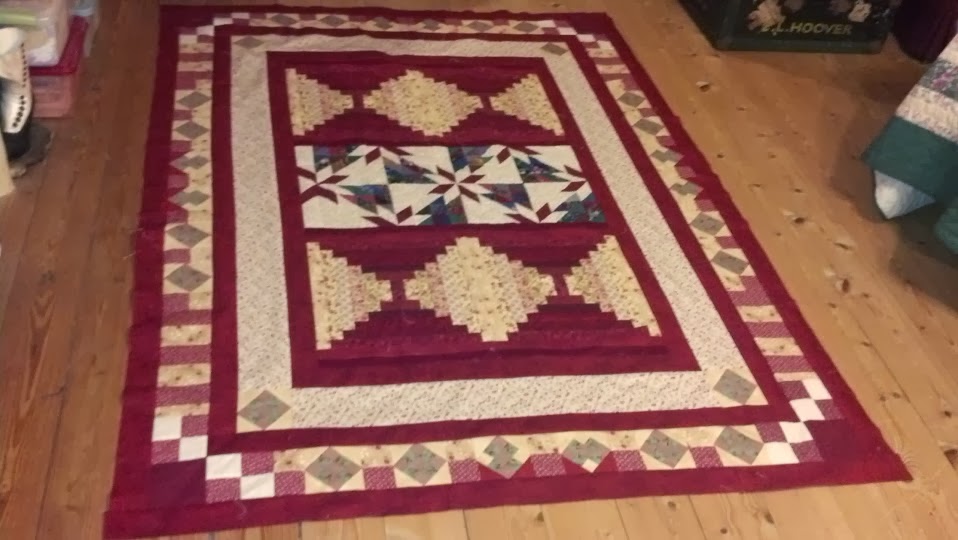
Mother's Unfinished - Adam's Quilt
My mother was diagnosed with pancreatic cancer in July 2010. As she began to take chemo and radiation, she became weaker and weaker. Her favorite past time had always been to hand piece during her "resting" times during the day, usually late afternoons or evenings. Even though she was weak from her treatments, she still picked up needle and thread and did a few things. I know that she made me a set of placemats and a table runner for my daughter. She pieced another set of placemats, in red, for her own table, but never got them quilted. She had planned for them to be her Christmas placemats. Mother spent several days in the hospital in December and left us at the end of January 2011.
I took the placements and a few other pieces, left overs or unfinished, and laid out a quilt. I sewed the placemats together and added some borders to get the quilt large enough for a quilt for my tall son.
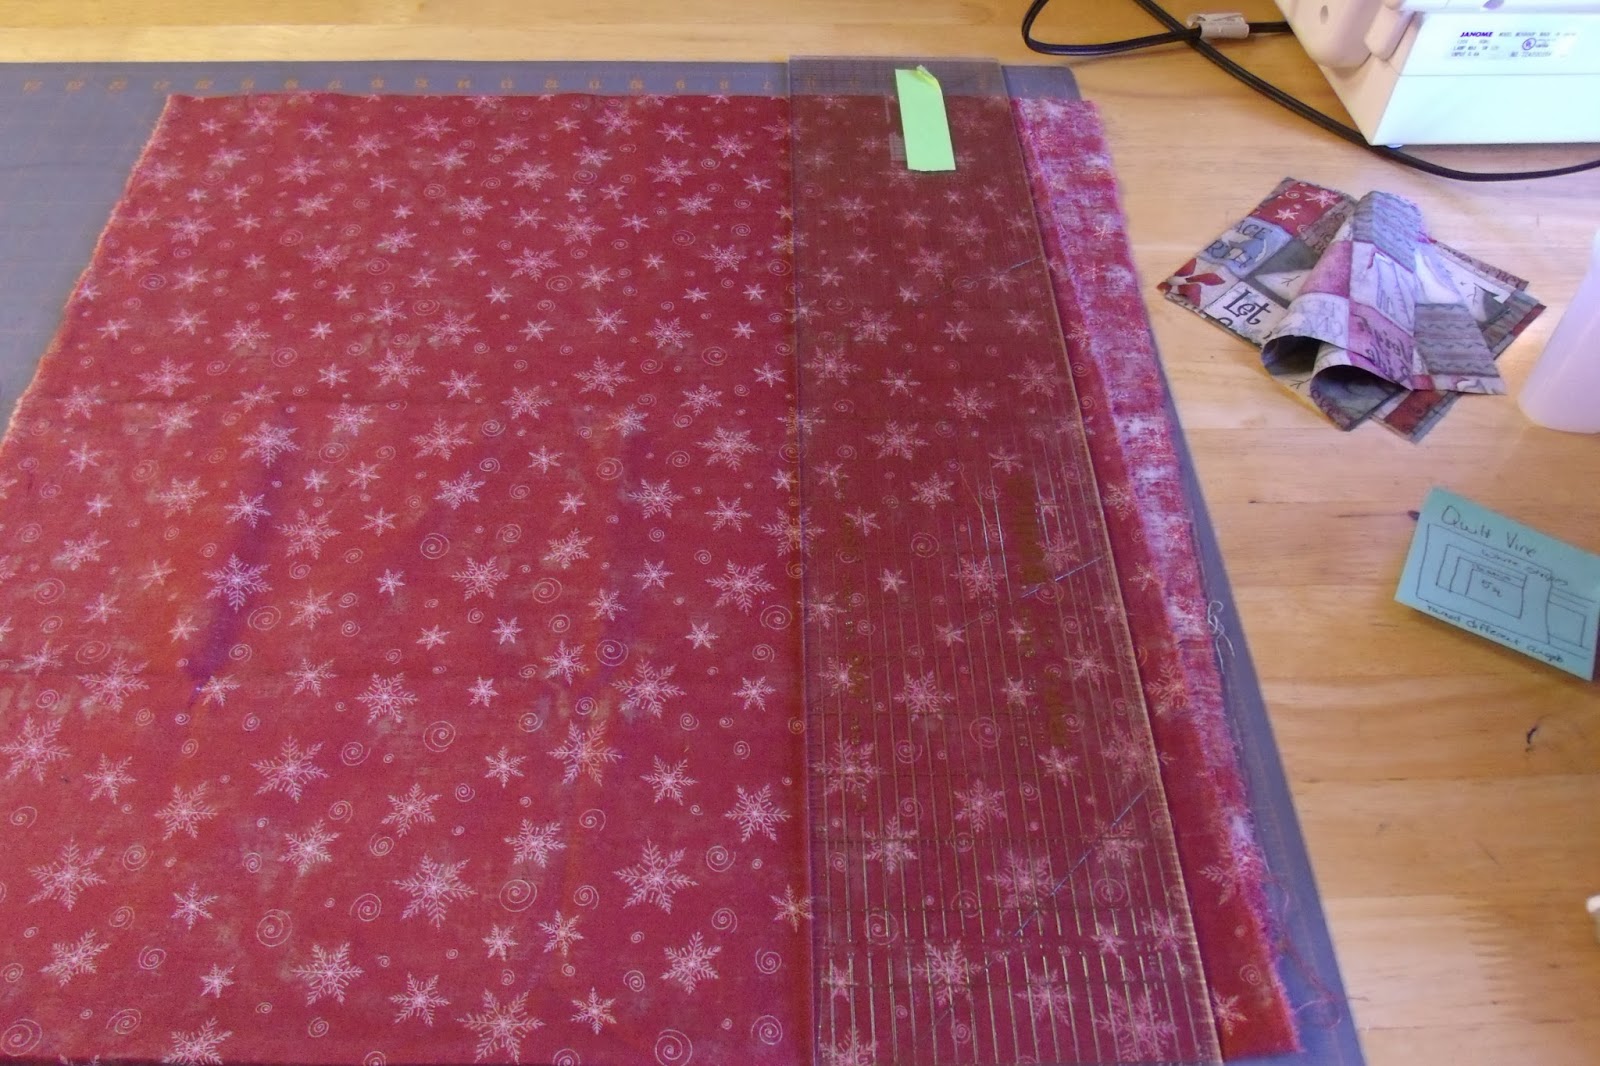
Quilting this was nerve racking. I kept thinking that I was going to mess up my mother's work. I finally had to just forget about that and put it under the needle. I want to improve my quilting, so I decided to do some different quilting techniques or patterns throughout the quilt. I did circles and stippling and a mixture of writing and loops.
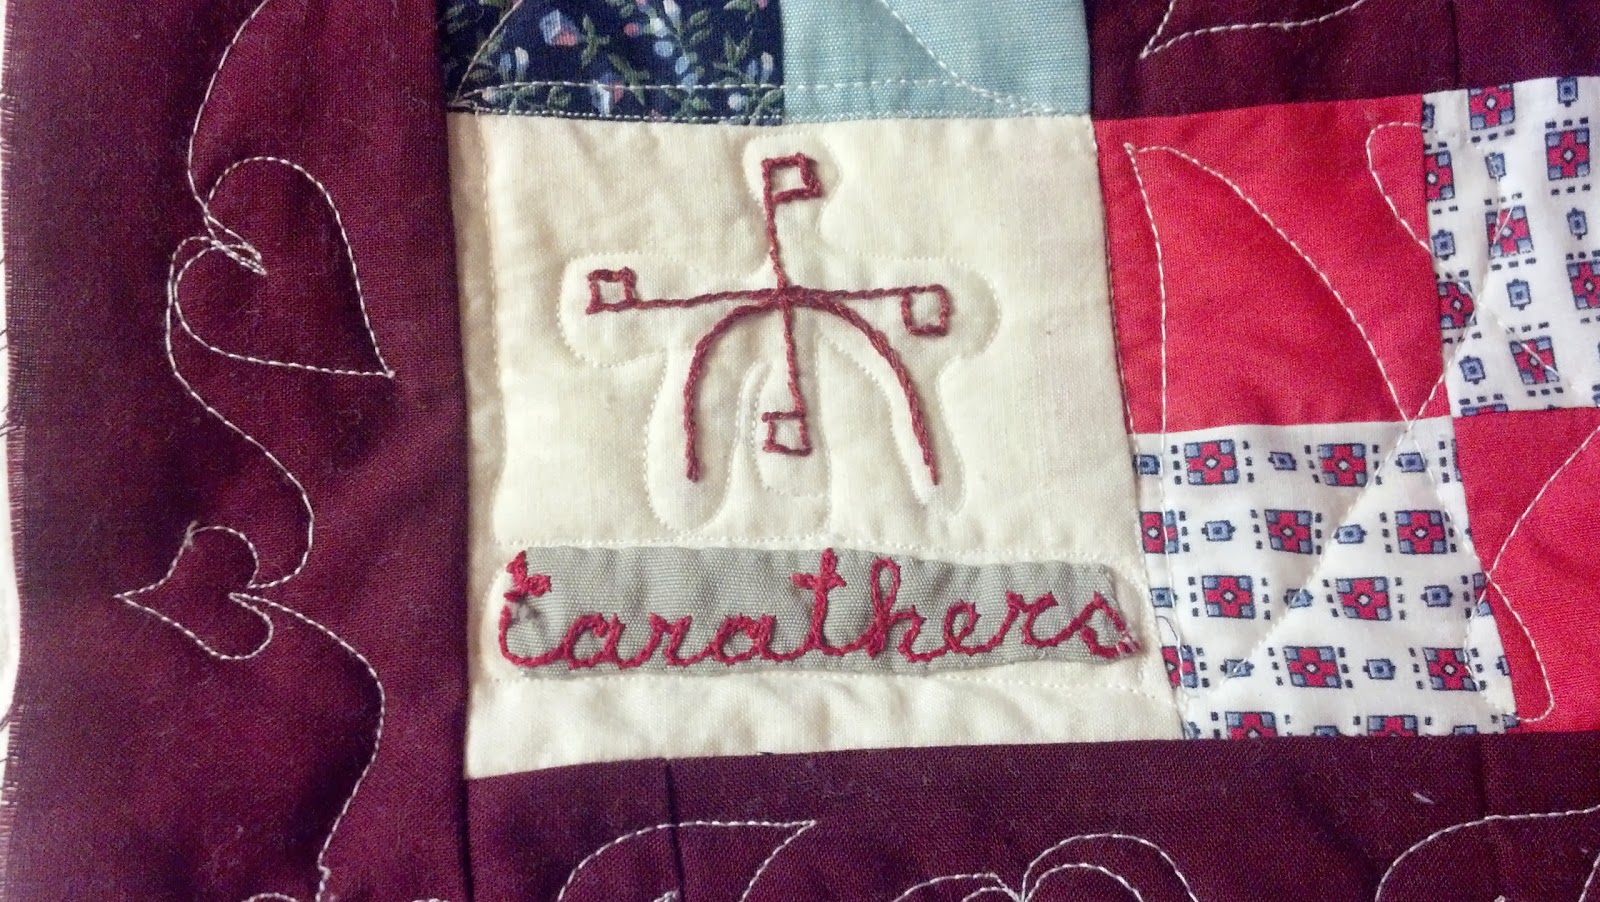
My mother signed all her quilts with the "cross L" symbol. It represents that everything she did was for the Lord and her last name, Lewis. It is also the cattle brand for our farm. Recently my son, daughter & I got the symbol as tattoos. So, of course, the symbol had to go into the quilt. I "wrote" the words and symbol into one of the borders, "faith, the cross L, family". I also embroidered the symbol on one corner block and added a tag my mother put in clothes she made for people (years ago) stating that it was made "especially for you by Frances Lewis".
I really thought it would have been the saddle that we gave Adam that had belonged to my father, that would have brought him to tears....but it was the quilt.
Grannie's Unfinished - Sally's Quilt
Grannie Carathers was almost 97 years old when she decided that she had lived long enough. She lasted 2 months after my mother left us and then she joined her little girl in March 2011. I guess it doesn't matter how old your children are, it's hard to live without them.
I have several boxes of unfinished projects of Grannie's. She worked constantly, all day long, on her quilts. Her quilting frame was only taken down during Christmas, so that the family could gather. I have several of her journals and she would note on a daily basis "quilted a reach today". It took me a while to figure out what that meant, then I realized she would quilt the length of her quilt frame (queen size, made by my grandfather) as far as her arm could "reach" each day, and then she would turn it or roll it forward. As soon as she had a quilt finished, she had another one ready to go in. She estimated that she had quilted over 500 quilts (hand quilting and hand piecing) in her life time. This is how she brought in money for her family. She sold almost every quilt she made and was commissioned to make quilts on a regular basis. What quilts didn't sale, my mother would buy. Grannie got to where she couldn't quilt any more several years ago. She still tried to piece at least 30 minutes a day, usually longer.
It seemed fitting that I make Sally's quilts from Grannie's unfinished projects. Grannie always wanted a little girl named "Sally" and even called me that until it confused my brothers what my name really was. It was a surprise to her that I named my daughter "Sally". The two of them always had a special connection and seem to have similar interests in all things arts.
Grannie had already appliqued 4 large blocks with the 8-petal flower design and had a bag of petals ironed or basted/turned under ready to applique. The problem was finding domestic material to make two more blocks that matched the other blocks. I'm not sure when Grannie made her blocks, but the fabrics all look to be of the 1960's era and for all we know, were made during that time frame.
In the midst of all the items that came to me after Grannie left us, was a single pillow case. It had bouillon flowers along the trim and some simple embroidery and thread weaving in the stitches. The case had been folded for many years and the exposed area had some age spots. The case was also very worn, tearing easily where someone had once laid their head. But the fabric matched exactly with that of the blocks and was the same width. I cut the back of the pillow case to make one block. For the other block, I cut the edges of the pillowcase and sewed them together, leaving the embroidery work. When did we stop putting so much detail into the pillow cases!?
Grannie did the top 4 blocks and I did the bottom two. I also appliqued the centers of the flowers on each one.
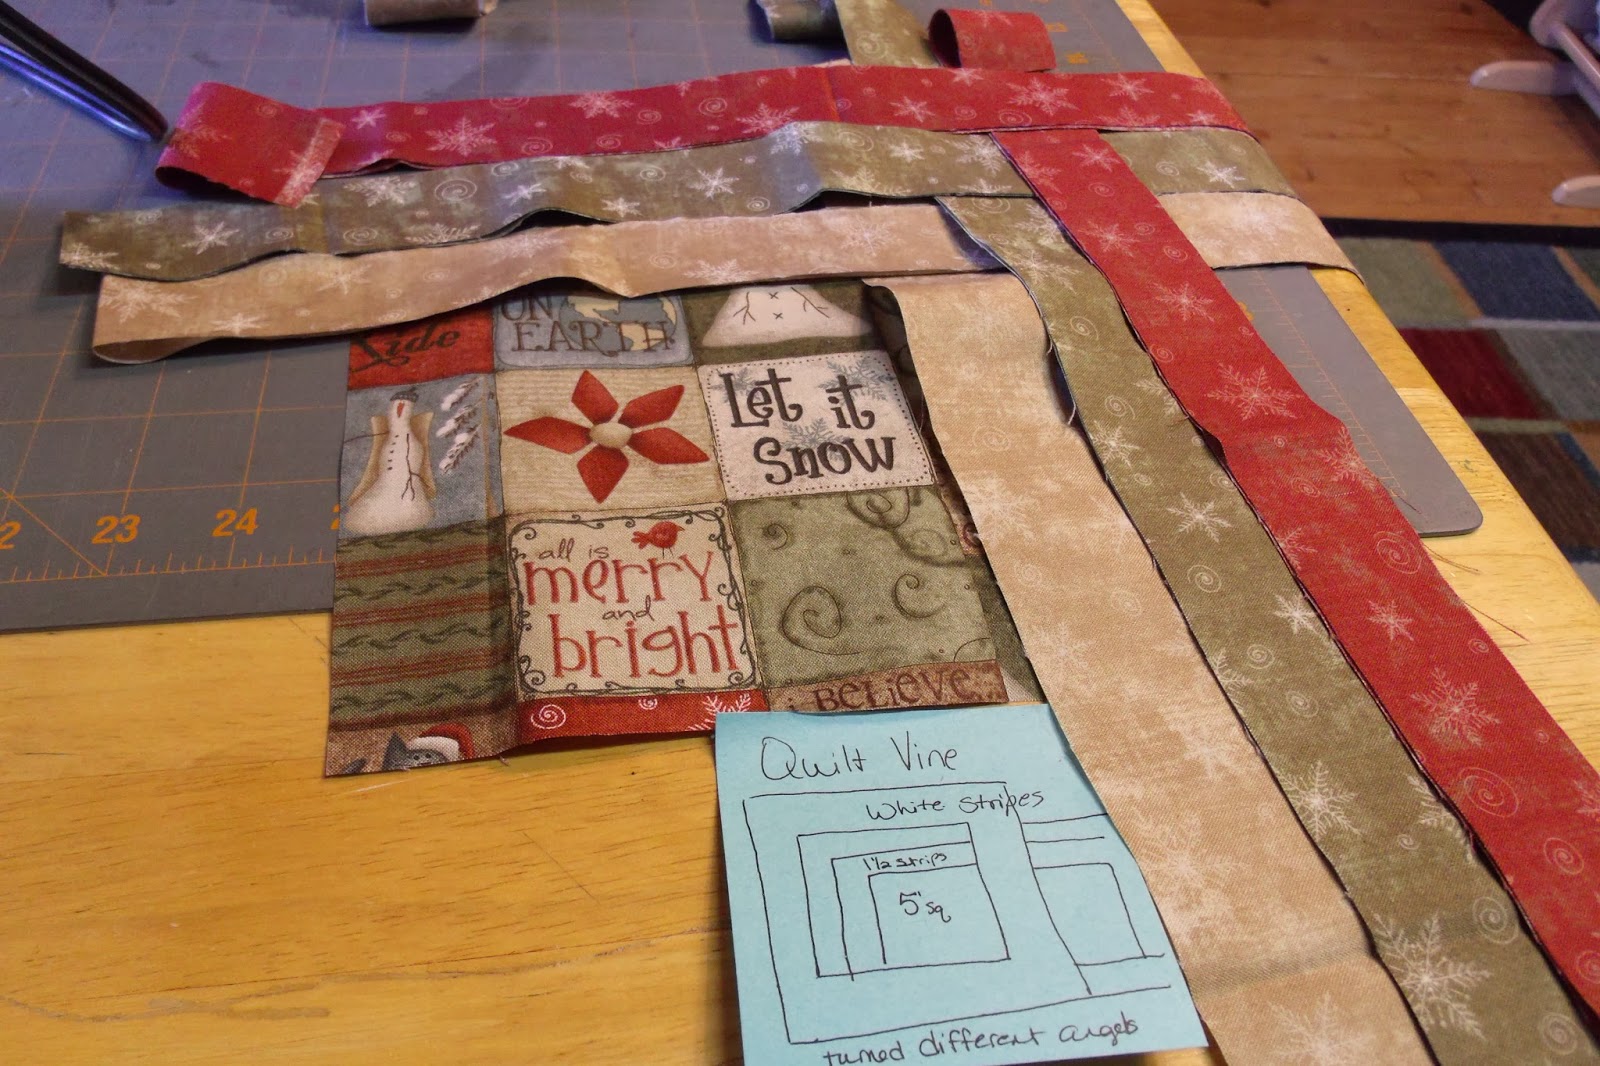
For the border, in Grannie's sewing basket, I found all these 4-patch blocks. There was enough to do two borders, I only have to make a few extra out of her vintage stash of fabric. The solid border was fabric from my mother's stash.
In that same sewing basket was a cutting from one of my grandfather's uniforms. There was barely enough fabric to turn under, but I appliqued it on one of the corner blocks. Grannie also had a signature that she used on all her ceramic work, a windmill. She was a Texas girl and always called it home even though she moved to Tennessee when her children were very young. I embroidered her signature on the same corner block.
Again, wanting to improve my quilting techniques, I tried something new for me, over-all stippling, around the flowers.
It went really fast and was very easy. I got nervous about the flowers, again, not wanting to mess up my grandmother's work, but I closed my eyes and moved the needle to the center of each flower and quilted a swirl and some type of leaf design in each petal. Doesn't the back always look better?
I did some loops and leaves in the borders and then "wrote" in the outer border.
I might have seen some tears in Sally's eyes too.
So...that makes 6 quilts I've done since October.
Appliqued the "umbrellas" on Matt's quilt.
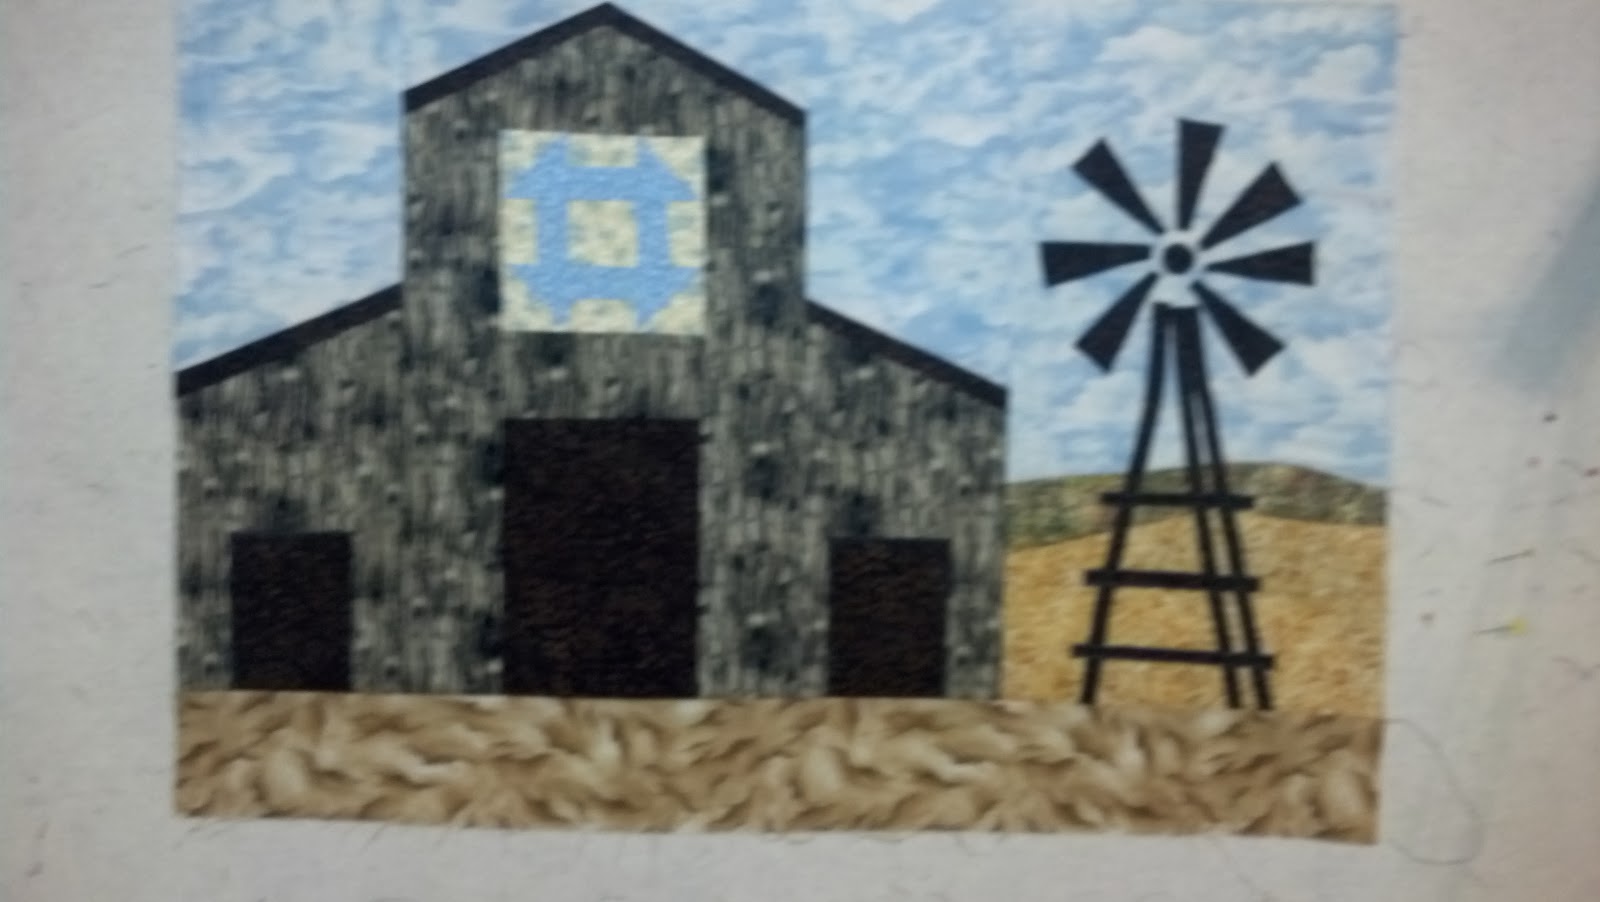
Then I did a couple of small things: the barn and a small Christmas quilt for my daddy's friend, Ms. Mary. The barn was for my family's dirty Christmas present. It got stolen a few times. My nephew, Michael ended up with it and plans to put it in his semi-truck for a touch of home while he's traveling.

Last, but not least, I put the white border on this hexagon quilt that a friend gave me and quilted it for her. I cleaned up the edges and then just added the white corners. She had given me a box full of vintage unfinished projects and asked only that I make her something from them. This was all hand pieced. Can you imagine?!
I've always said that every quilt has a story and these were the stories with this year's quilts. Grannie always said that your dreams will come true the first night you sleep under a new quilt. Sally has added that the quilt isn't yours until you cry under it.
My prayer is that each person will have great dreams and happy tears.
Oh...I almost forgot! In 2011 our family had several quilts in the Hickman County Quilt Show, TN. The guild makes a book of all the quilts each year. They just released the book for 2011 and my family is represented greatly. I did a slide show and the details of who everyone is and how they are connected to me is in the details. Enjoy.


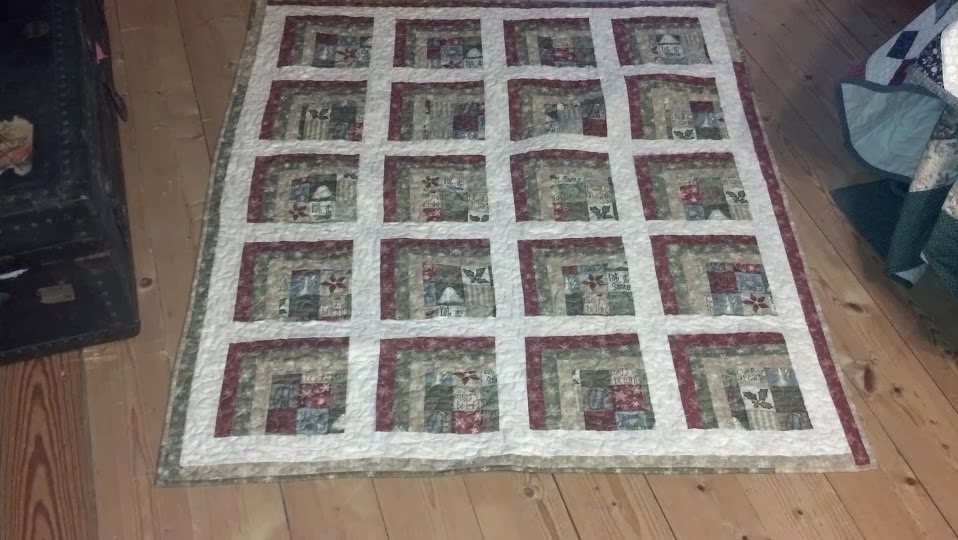
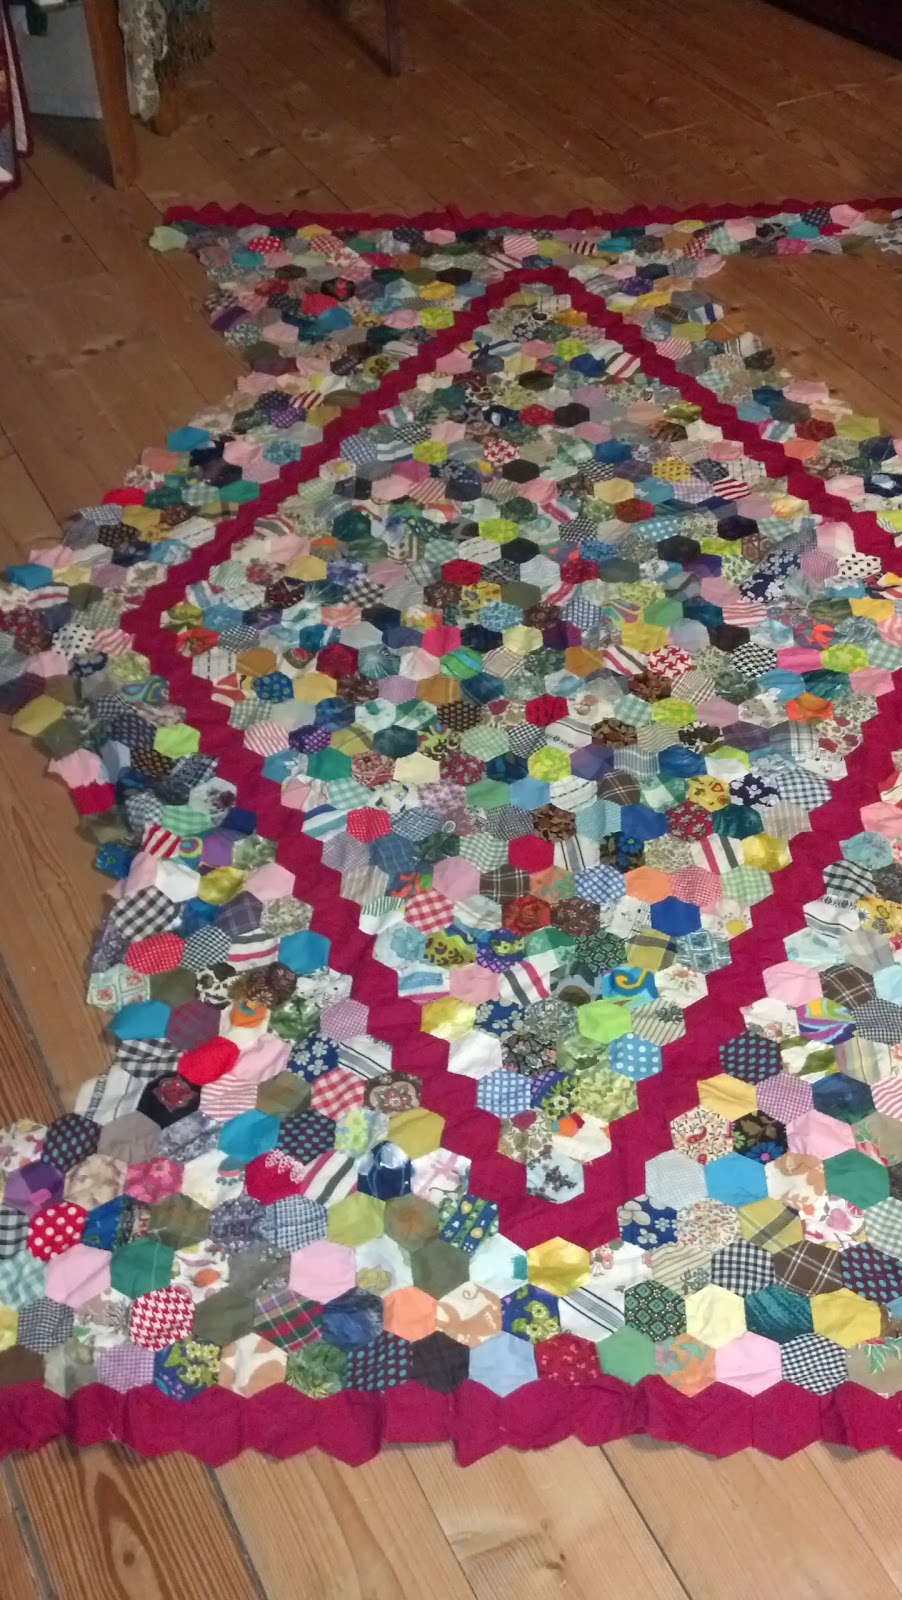 Last, but not least, I put the white border on this hexagon quilt that a friend gave me and quilted it for her. I cleaned up the edges and then just added the white corners. She had given me a box full of vintage unfinished projects and asked only that I make her something from them. This was all hand pieced. Can you imagine?!
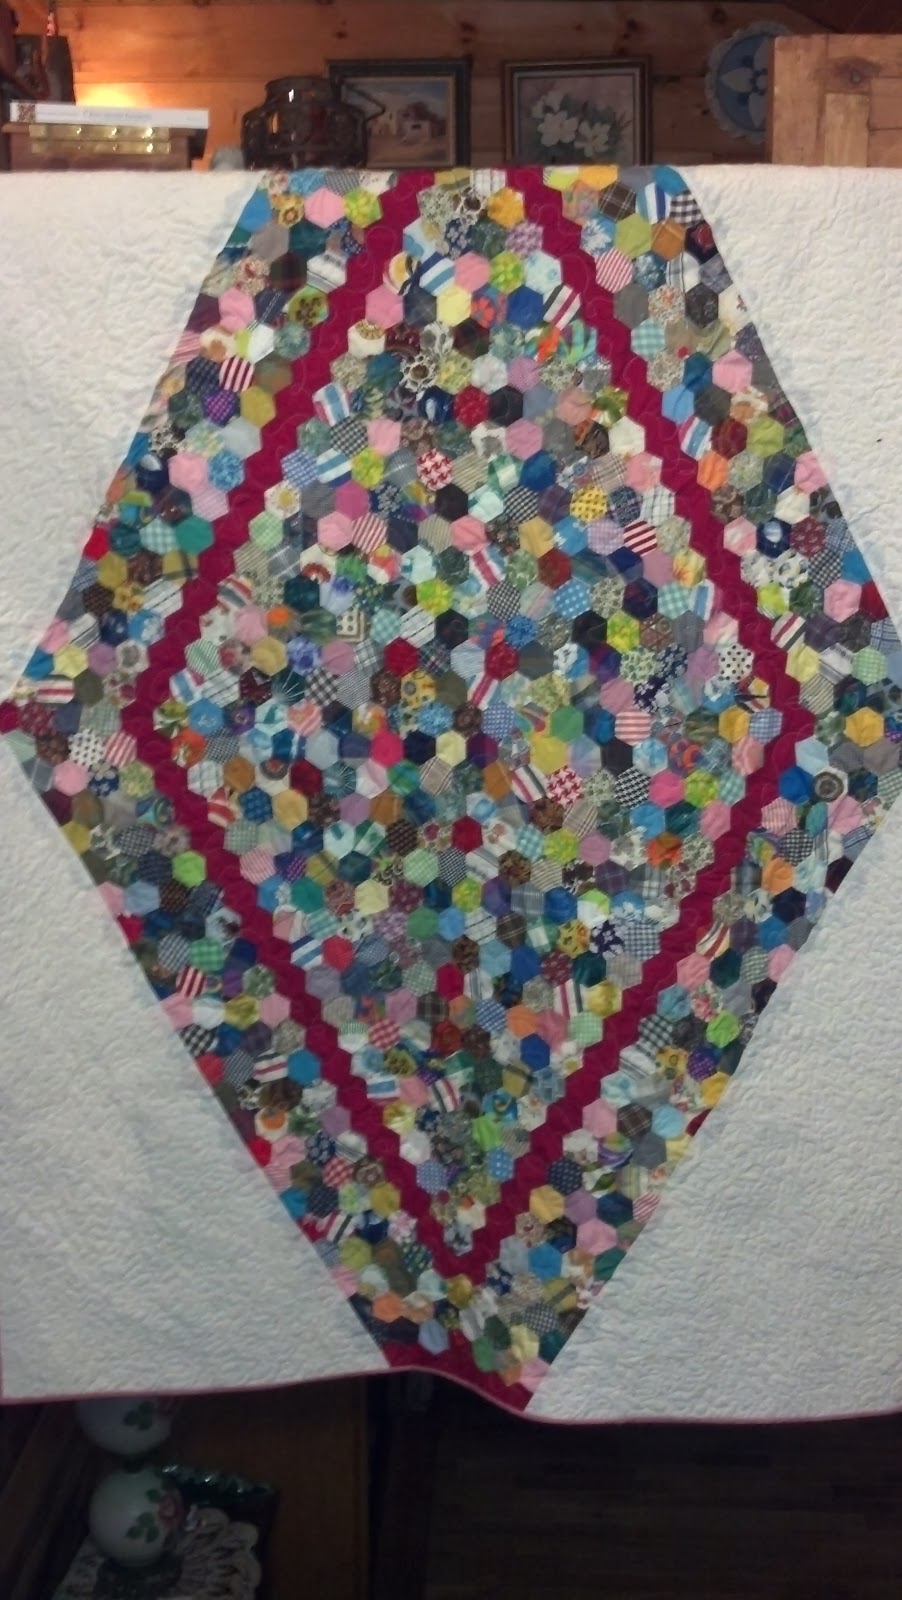
