Bloglovin'

Follow on Bloglovin

Wednesday, June 18, 2014

Custom Totes

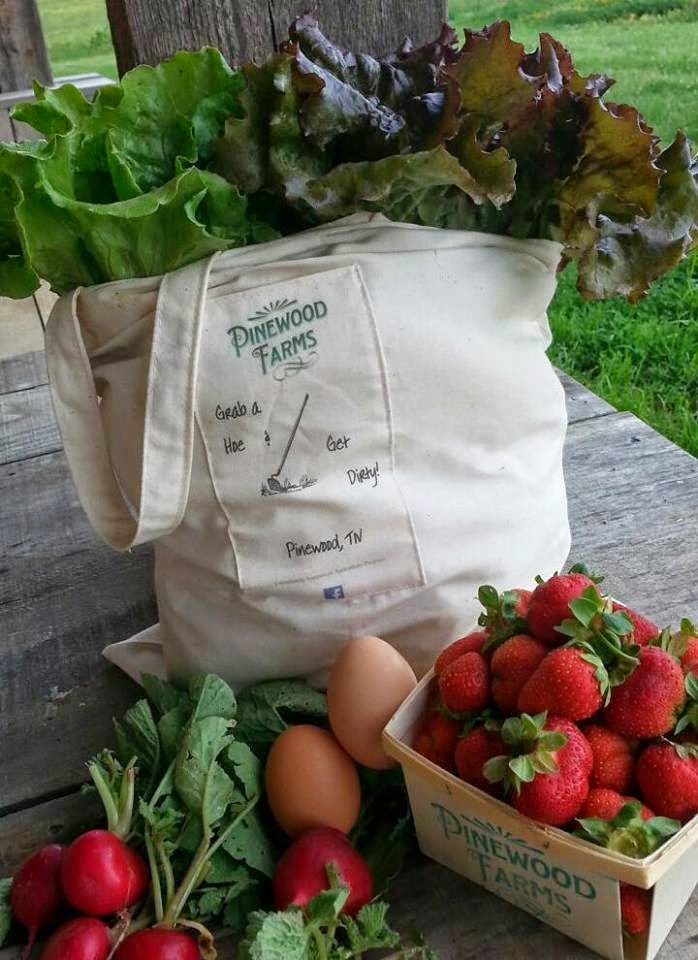
Everywhere you shop now, for a few dollars you can purchase a tote bag with a store logo to put your purchases in and save the planet by not using plastic or paper.  During the art show, we made some bags for our customers and they were a big hit, so big, that I'm doing some for a CSA program (community supported agriculture program).  When someone signs up for the program, they get a personalized bag. 

 I made the bag big enough to hold a dozen eggs in the bottom and then be loaded with fresh fruits and vegetables.  But if it were mine...I'd load it with quilt projects!
 
 The tote is 19 inches wide at the opening and narrows down to a pleated base of 6 x 13 inches.  The handles are 1 1/2 inch wide and for this bag, I made them a little shorter, with a depth of 7 inches.
 This particular tote is a custom design for a local farm that sales at market every week.  It is customized with the CSA member's name.   I had made some for them during the art show, but it wasn't quite big enough to get all their goodies in them. 

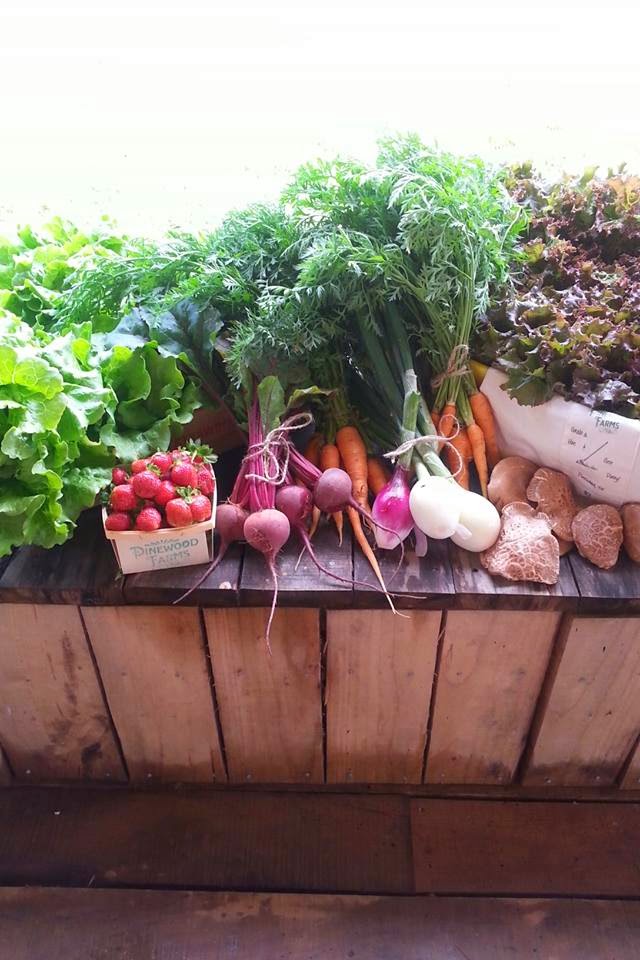
Their stuff is so good!  I've been eating fresh veggies all week.  If you are in the Nashville, Dickson, or Hickman County areas, you can sign up for the program.  Find them on Facebook at Pinewood Farms, in Pinewood, TN (mailing address is Nunnelly, TN).  I can't wait to see the pictures them make with this new bag!  Be sure and follow me on Facebook too, Piney's Needle and if you are interested in a custom bag, email me at pineysneedle@gmail.com. 

Sunday, June 15, 2014

The Extra Room

Our home only has 3 bedrooms. 

I say "only" like that's such a small number, but it was when we have two kids and sometimes other people living with us.  We started using our lofts (which we have 2 of) as bedrooms too.

When finally it was down to just me and my husband and my son about once a month, we've started enjoying the extra rooms.  Keeping our bedroom in the loft opened up the actual bedrooms for other things.  The main bedroom was turned into a music/office room for my husband and the smaller empty bedroom was originally a storage room, but I'm slowly transforming it.

We literally could not walk in this room after two deaths in the family and lots of their furniture coming to our house.  Slowly I've gone through and moved it around or gotten rid of it and now it is my office/workspace/craft storage room. 

I like to see my supplies because that reminds me that I have them and can do something with them.  Seeing my supplies actually motivates and inspires me.

Since I have wood walls, hammer and nails are my friends!  I just hope my husband doesn't look too closely at how I've got all that thread on the wall.

 All of my crochet thread had been in a plastic container in about 3 places.  I pulled it all out, balled the small pieces and hung the thread on the wall and stored the yarn on the shelf with my paints.  All three machines are in working order, so whenever there are several of us working, we have a go to place.  The shelf with the notebooks are actually scrapbooks where I cut things out of magazines and then put them in plastic sleeves.  I'm trying to get these organized into some type of pattern style collections (one with all applique, beginner quilts, advanced quilts...stuff like that).
 I also hang my scissors where it's easy to find them along with templates.  This is one of my material stashes, which you can see is overflowing.
 So of course I went and bought some more!
 Along with some small pieces of furniture still stored in the room, I also have all my quilts and items for sale stored, ready to be shipped out to future buyers.
 The magazine stash I inherited from my grandmother!  As I go through these, I tear out the patterns I like and move them to the scrap books.  I know, I can feel some of you cringing at the thought of tearing up these magazines, but I just have to get them out of here so that I can bring more in!!!
 The closet is the Christmas storage space with room for batting storage.  I've measured all these and labeled them so that it's easy to find pieces for small projects.
 Another view of my stash basket. 
This is my main fabric stash...a converted bookshelf.  As you can tell, the material and the books are fighting for space.  I'm afraid the fabric is about to win!  My project over the next few days is to eliminate most of the books on this shelf.  I know, that just about breaks my heart, but I'm not reading this type of books as much as I once was, so it's time for them to go.

How do you store your fabric and what does your workspace look like?

Friday, June 13, 2014

The Sewing Box

There's a photo share going around on Facebook by One Day in May.  Melissa asks us to share photos of our vintage sewing boxes.  Check out her blog for the links.

So here is mine:

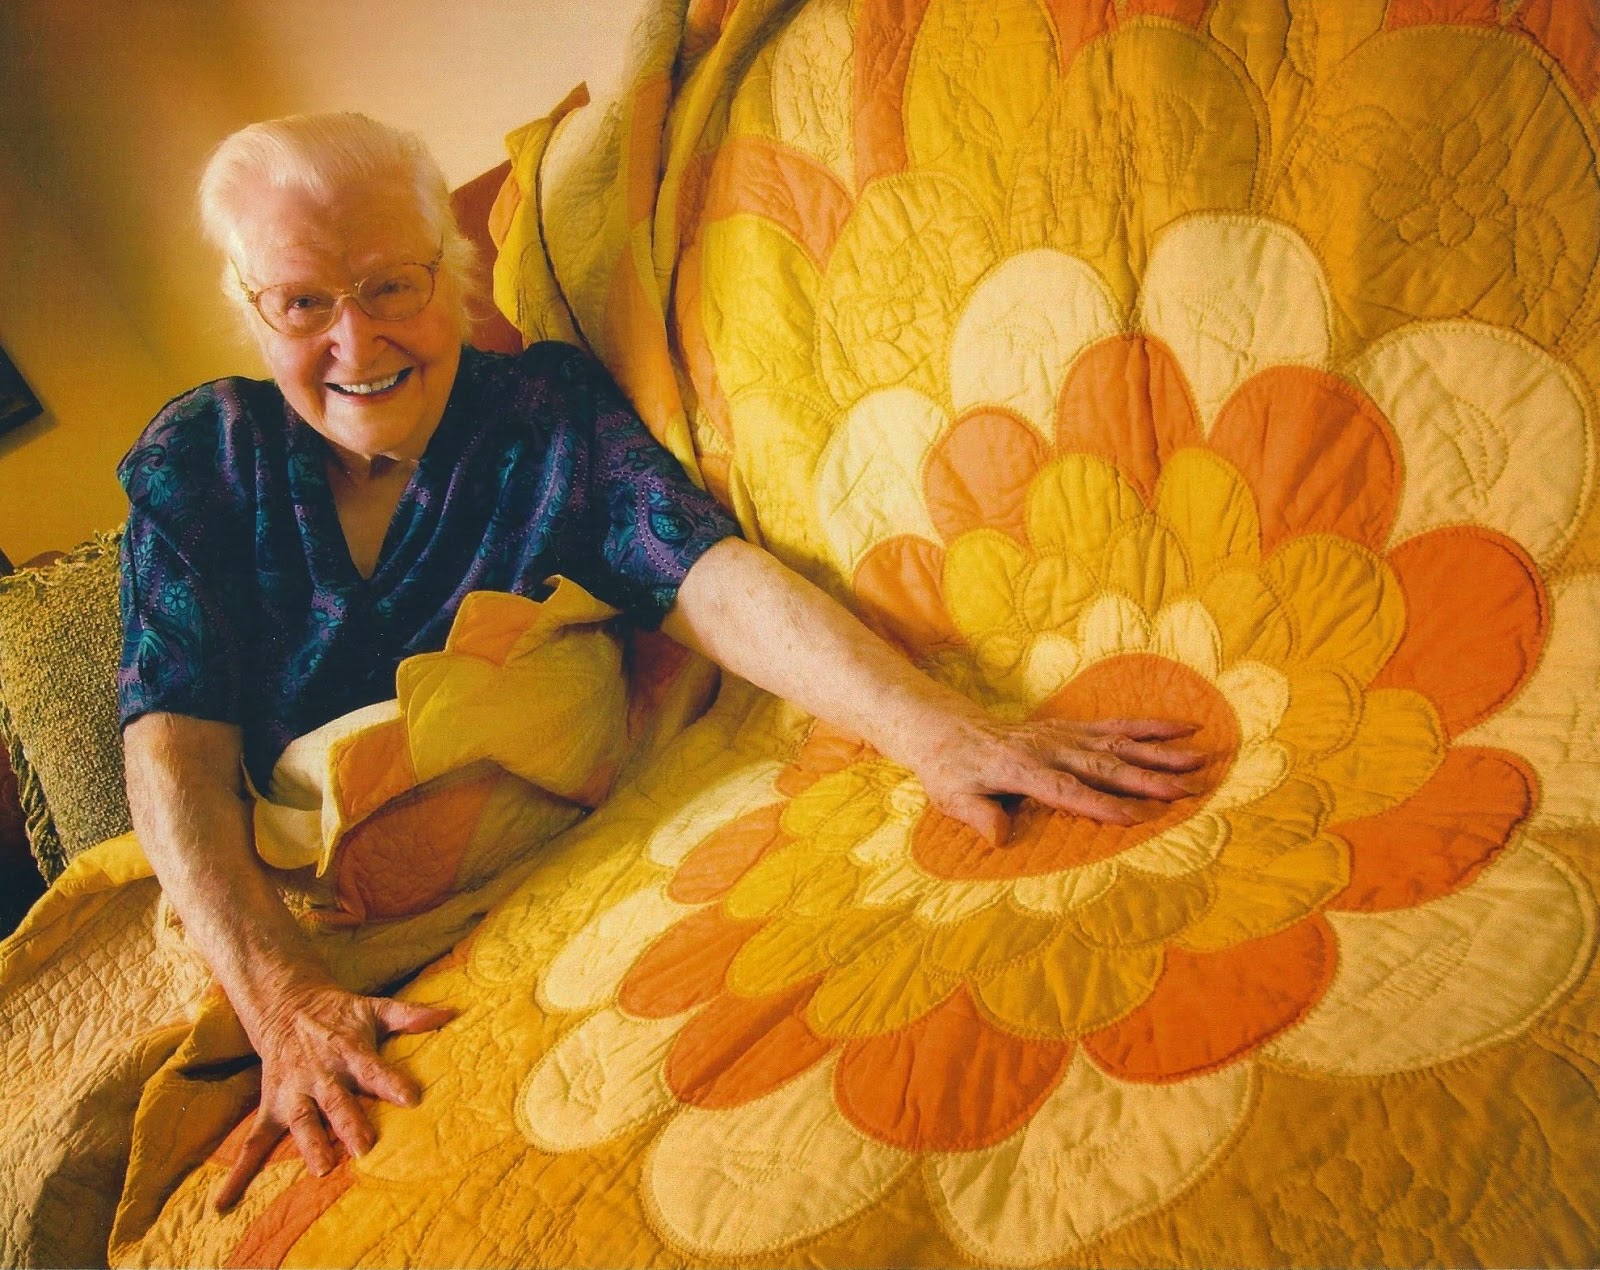
Mildred Waldean McPeak Carathers
My grandmother.

I received this plastic sewing box from her estate.
Inside were all these treasures.
 Ribbons from the 1940 Tri-State Fair, Texas and 2 from the 1958 Tennessee State Fair. 
I wonder what she entered.
 I already pulled from this box to make Sally's quilt.  There are still lots of items
in here to make more treasures.  She had cut the triangles for, what I'm thinking, were to be flying geese.  Did you see the ivory crochet needles and pearl buttons?
 Maybe it's time for me to start a sewing box so my granddaughter can someday find my treasures!


Sunday, June 8, 2014

Bringing Up Baby!

About 15 years ago, or maybe longer, I started doing custom-made clothes and items for families.  Living in Alabama at the time, I had about 3 families with 4 or more children, that requested matching play and dress clothes.  I was also doing custom work for a couple of children's shops in the Foley and Fairhope areas.

One of the mother's I was sewing for asked if I could make heirloom quality blankets and bids for her to give as shower gifts.  She keep me busy with those!

Recently I was asked if I had any baby items and I pulled out my old patterns and started playing around with some new ideas. 

Here's the result!


I love this curved pattern and I simply sewed rows of fabric together and then cut the pattern on the fold.  I wanted to add some "pretty" but also make it washable...because you know it going to get dirty!  I used scraps of fabric for the flowers and when I could, I free hand cut the petals, also on the fold and then hand appliqued them down.  I know, there are easier/faster ways, but I spent the day watching TV and talking with my daughter today, working on these, instead of under a machine all day.  That's the best part of hand applique.

I definitely think I'll be doing more of these.  This one is listed on my Etsy store, ready to be mailed to you!

Thursday, June 5, 2014

Wall Hangings

The quickest way to cover up a dirty spot on the wall or just an empty spot is with a wall hanging.  It's a way to add a splash of color and that homey feeling to those boring walls at work. (if you have boring walls at work :) ).

Today on Piney's Needle Facebook page, I shared images of my new office and two wall hangings that I added.  I'm only going to be in the office for about 2 months, so I needed something temporary and something to cover up hangers on the walls.  We aren't allowed to hang things ourselves or remove stuff, so I'm stuck with hangers from the previous occupant in odd places.  Two of the walls are also metal, so it is very hard to hang anything on them and I use lots of magnets or stick on pictures.

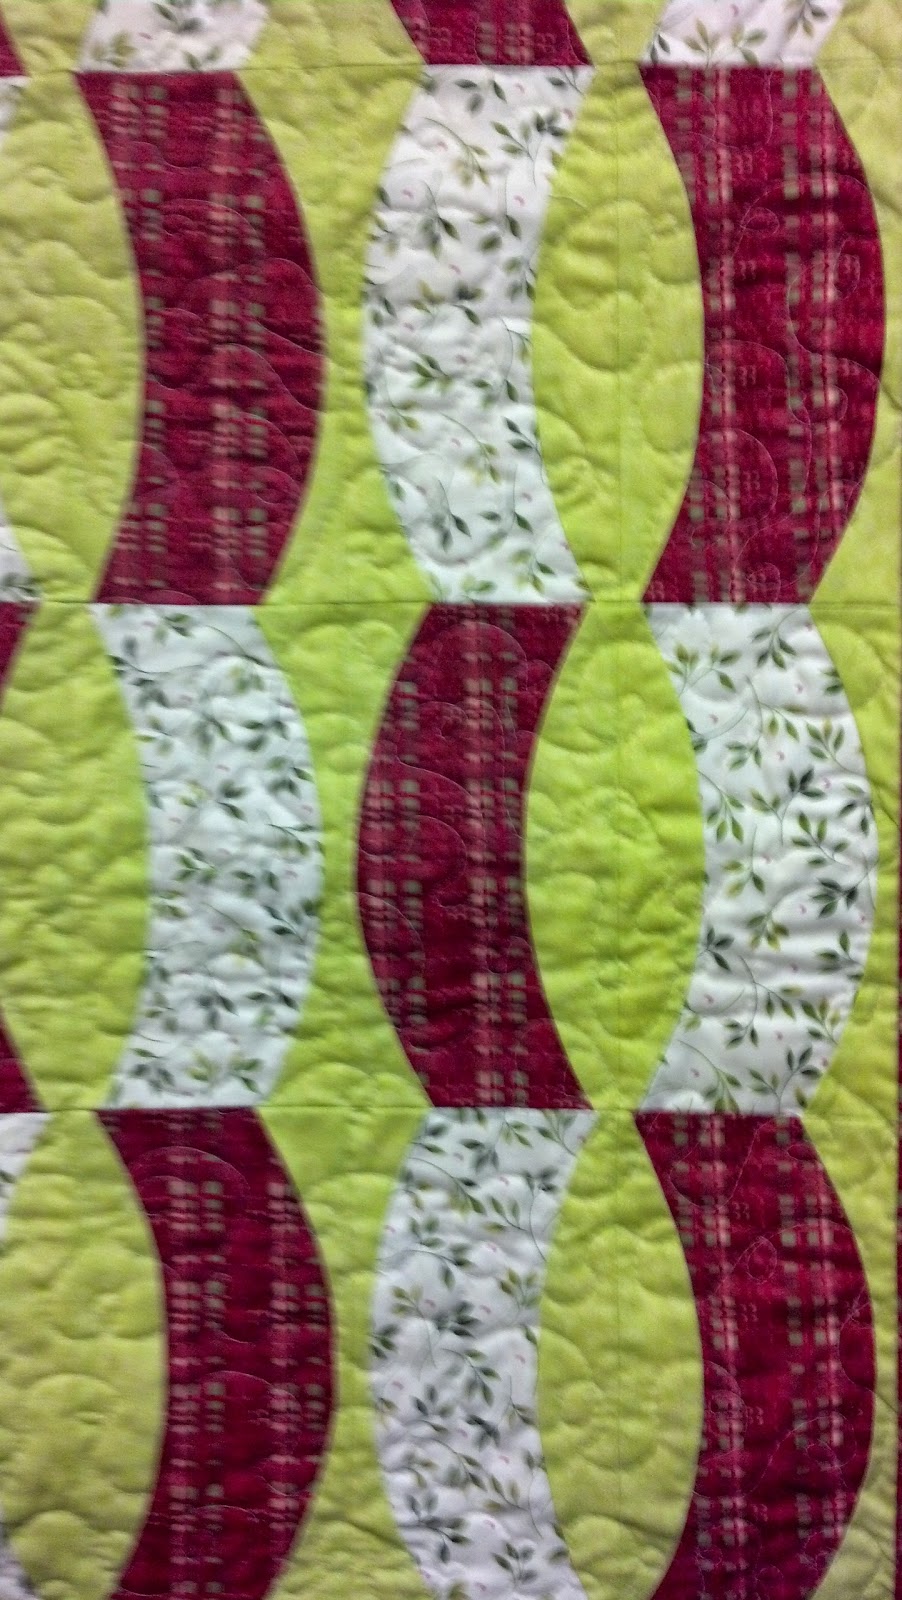
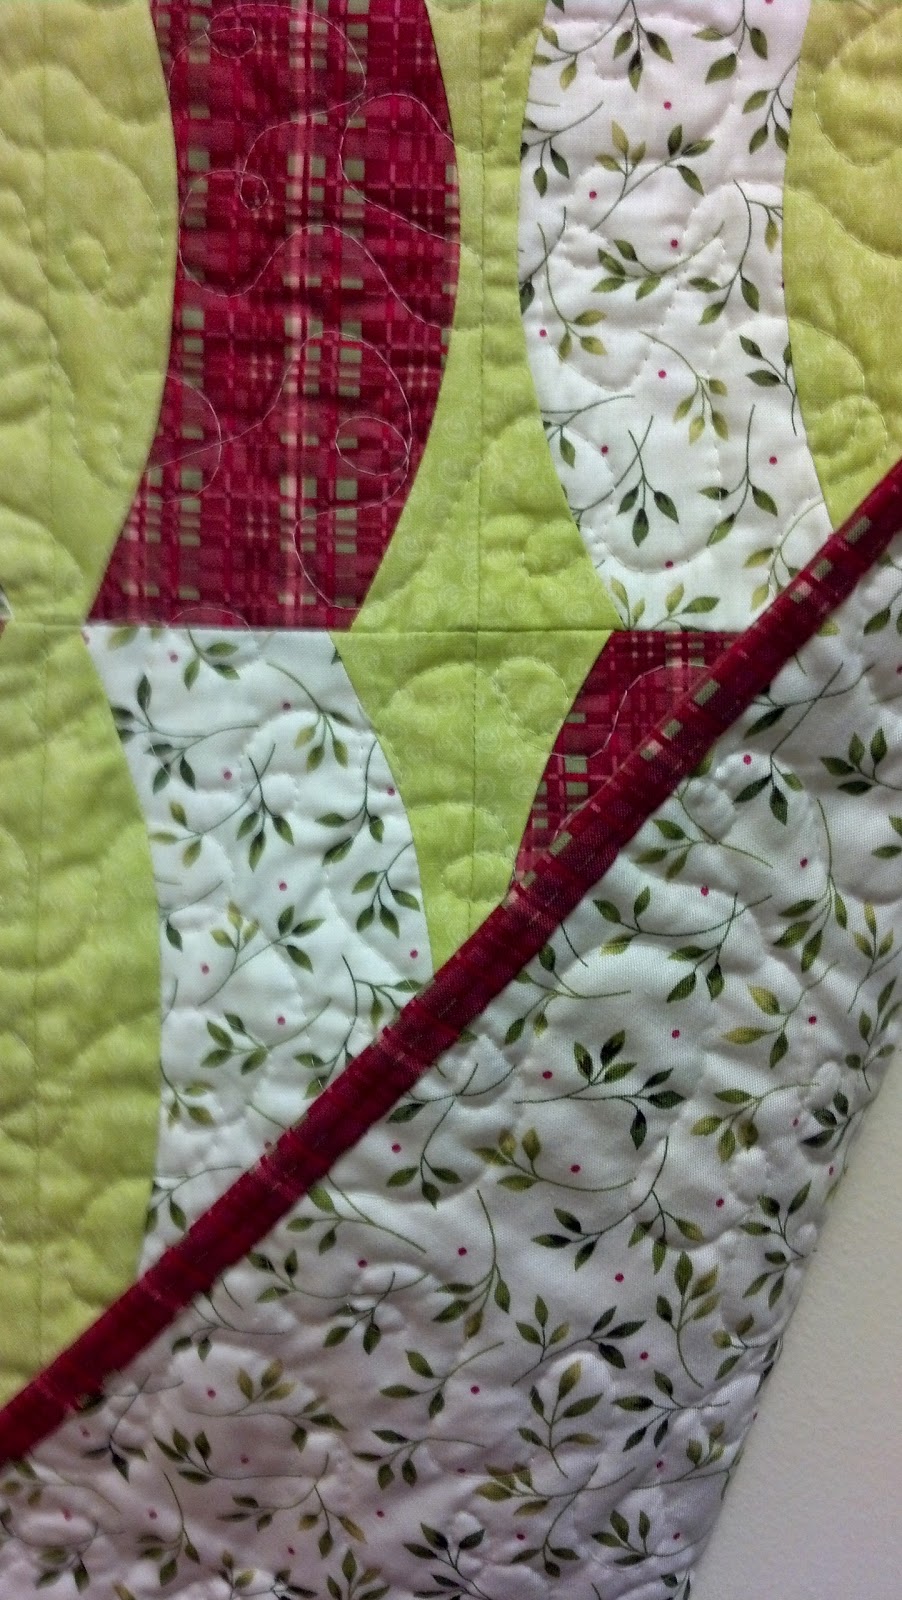
 This Curves wall hanging is new, using a ruler from Sew Kind of Wonderful.  This is the only thing I've made so far, but I can't wait to try more stuff with the ruler (which Granny B's in Dickson ordered for me and has some in stock).  This wall hanging is for sale, $65,  and I would be happy to take it down and mail it to you.  I can now take credit cards through my phone using Square!  It's 16 in x 36 in, with a hanging sleeve.  I've got just a simple dole stick through the hanger with a ribbon.  Magnets are holding it up on my wall.
                

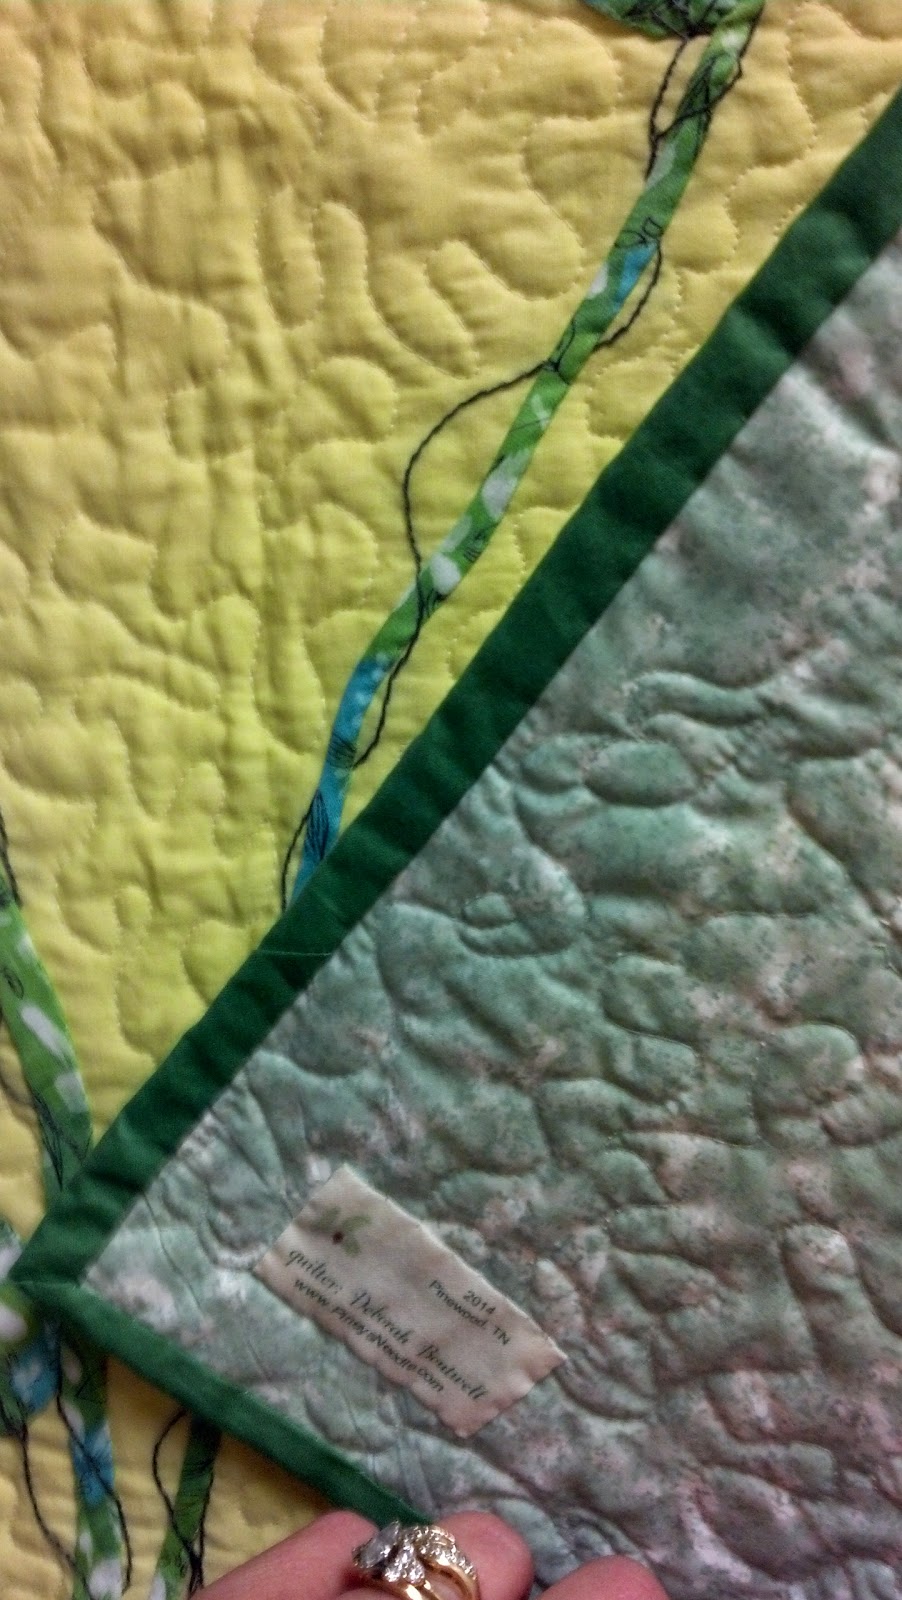
To cover up the brackets from a previous dry erase board, I needed something a bit wider.  This floral wall hanging is my own design, made from vintage fabrics from my grandmother's stash, dating back to the 1960s.  This is also a metal wall, so I'm using magnets to hang, but they are resting on the brackets underneath, since this one is a little heavier.  It's also for sale, $65, 25 in x 29 in, with a hanging sleeve.
The flowers are all hand appliqued and the back ground is machine pieced and machine quilted.
I added a vintage button on the Yo-Yo center of the flower and some simple embroidery to enhance the stems.  The flower buds are just folded fabric appliqued down.

 I wasn't really fond of the flower at first, but now that it's finished, I really do like it.  The wall hanging just has a lot of movement to it.

These two pieces have really cheered my office up.

As I mentioned, they are both for sale, so let me know if you are interested.  
Contact me:
PineysNeedle@gmail.com


Monday, June 2, 2014

Tumbling Baskets


 I mentioned that I was doing something new and while this might not look new to you, since it is a very old pattern, I think I did something new with it.

I wanted to take the common flower basket and see if I could design my own block with it and this is what I've come up with.
I've drawn off the blocks on graph paper and I'll have lots of space for applique flower and stems once it starts going together.

 
Here's the basic layout.  
I'm using all scraps, white-on-white, cream-on-cream, and reds.
The background strips are from left over quilt backing projects, All cut in 2 1/2 inch strips.

The basket is made using a half-square triangle technique.  There are several techniques "out there" that you can use to get these triangles.

Assemble the basket as shown.
Here's my input that makes it a little different.

The first outside border strip is added to the bottom, however, don't sew it all the way across.  Stop sewing about half-way across.  If you sew it all the way across, you have to make a Y-seam, and this just seemed much easier to me.
Now add the outside strips in the order shown.

At this point, you can now finish sewing the first strip on.  No Y-seams. 
I like the way the blocks now match up and it will give me lots of applique and quilting areas.  I think if you add another boarder of the outside strips, but in color, it will also frame it up very nicely for another look.  I also like the play on the background color, using all the various scraps I had (harder to see in the pictures).