Bloglovin'

Follow on Bloglovin

Friday, June 13, 2014

The Sewing Box

There's a photo share going around on Facebook by One Day in May.  Melissa asks us to share photos of our vintage sewing boxes.  Check out her blog for the links.

So here is mine:

Mildred Waldean McPeak Carathers
My grandmother.

I received this plastic sewing box from her estate.
Inside were all these treasures.
 Ribbons from the 1940 Tri-State Fair, Texas and 2 from the 1958 Tennessee State Fair. 
I wonder what she entered.
 I already pulled from this box to make Sally's quilt.  There are still lots of items
in here to make more treasures.  She had cut the triangles for, what I'm thinking, were to be flying geese.  Did you see the ivory crochet needles and pearl buttons?
 Maybe it's time for me to start a sewing box so my granddaughter can someday find my treasures!


Sunday, June 8, 2014

Bringing Up Baby!

About 15 years ago, or maybe longer, I started doing custom-made clothes and items for families.  Living in Alabama at the time, I had about 3 families with 4 or more children, that requested matching play and dress clothes.  I was also doing custom work for a couple of children's shops in the Foley and Fairhope areas.

One of the mother's I was sewing for asked if I could make heirloom quality blankets and bids for her to give as shower gifts.  She keep me busy with those!

Recently I was asked if I had any baby items and I pulled out my old patterns and started playing around with some new ideas. 

Here's the result!


I love this curved pattern and I simply sewed rows of fabric together and then cut the pattern on the fold.  I wanted to add some "pretty" but also make it washable...because you know it going to get dirty!  I used scraps of fabric for the flowers and when I could, I free hand cut the petals, also on the fold and then hand appliqued them down.  I know, there are easier/faster ways, but I spent the day watching TV and talking with my daughter today, working on these, instead of under a machine all day.  That's the best part of hand applique.

I definitely think I'll be doing more of these.  This one is listed on my Etsy store, ready to be mailed to you!

Thursday, June 5, 2014

Wall Hangings

The quickest way to cover up a dirty spot on the wall or just an empty spot is with a wall hanging.  It's a way to add a splash of color and that homey feeling to those boring walls at work. (if you have boring walls at work :) ).

Today on Piney's Needle Facebook page, I shared images of my new office and two wall hangings that I added.  I'm only going to be in the office for about 2 months, so I needed something temporary and something to cover up hangers on the walls.  We aren't allowed to hang things ourselves or remove stuff, so I'm stuck with hangers from the previous occupant in odd places.  Two of the walls are also metal, so it is very hard to hang anything on them and I use lots of magnets or stick on pictures.

 This Curves wall hanging is new, using a ruler from Sew Kind of Wonderful.  This is the only thing I've made so far, but I can't wait to try more stuff with the ruler (which Granny B's in Dickson ordered for me and has some in stock).  This wall hanging is for sale, $65,  and I would be happy to take it down and mail it to you.  I can now take credit cards through my phone using Square!  It's 16 in x 36 in, with a hanging sleeve.  I've got just a simple dole stick through the hanger with a ribbon.  Magnets are holding it up on my wall.
                

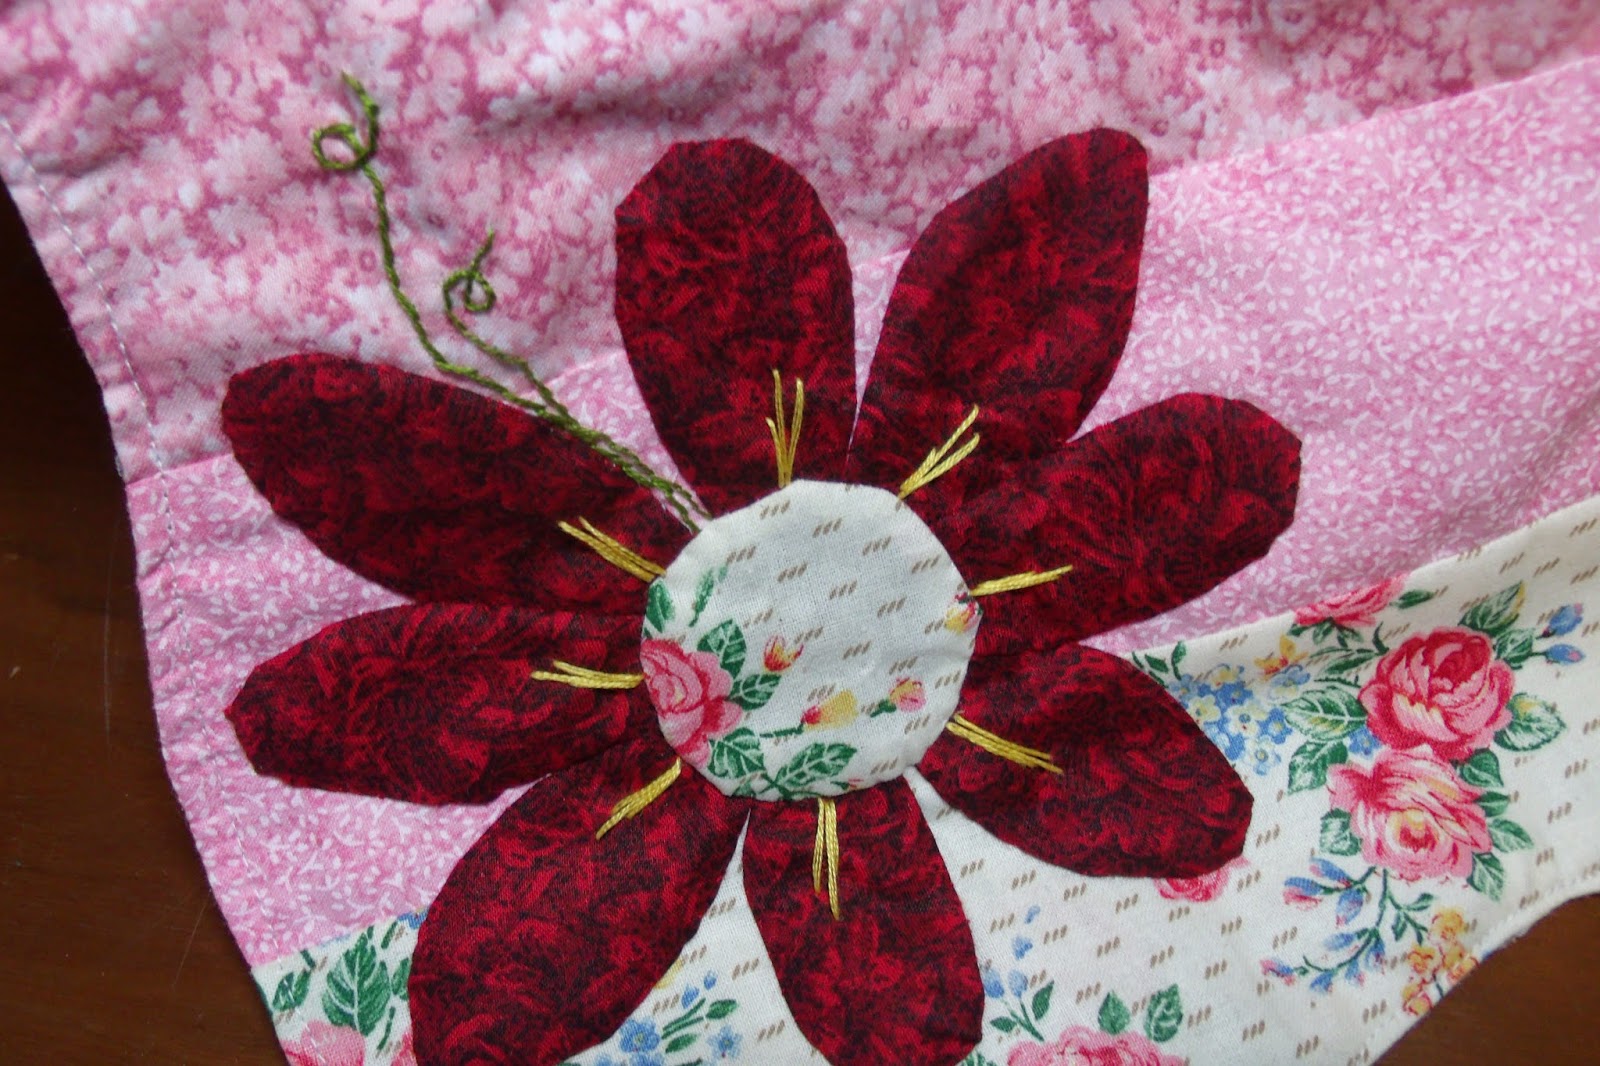
To cover up the brackets from a previous dry erase board, I needed something a bit wider.  This floral wall hanging is my own design, made from vintage fabrics from my grandmother's stash, dating back to the 1960s.  This is also a metal wall, so I'm using magnets to hang, but they are resting on the brackets underneath, since this one is a little heavier.  It's also for sale, $65, 25 in x 29 in, with a hanging sleeve.
The flowers are all hand appliqued and the back ground is machine pieced and machine quilted.
I added a vintage button on the Yo-Yo center of the flower and some simple embroidery to enhance the stems.  The flower buds are just folded fabric appliqued down.

 I wasn't really fond of the flower at first, but now that it's finished, I really do like it.  The wall hanging just has a lot of movement to it.

These two pieces have really cheered my office up.

As I mentioned, they are both for sale, so let me know if you are interested.  
Contact me:
PineysNeedle@gmail.com


Monday, June 2, 2014

Tumbling Baskets


 I mentioned that I was doing something new and while this might not look new to you, since it is a very old pattern, I think I did something new with it.

I wanted to take the common flower basket and see if I could design my own block with it and this is what I've come up with.
I've drawn off the blocks on graph paper and I'll have lots of space for applique flower and stems once it starts going together.

 
Here's the basic layout.  
I'm using all scraps, white-on-white, cream-on-cream, and reds.
The background strips are from left over quilt backing projects, All cut in 2 1/2 inch strips.

The basket is made using a half-square triangle technique.  There are several techniques "out there" that you can use to get these triangles.

Assemble the basket as shown.
Here's my input that makes it a little different.

The first outside border strip is added to the bottom, however, don't sew it all the way across.  Stop sewing about half-way across.  If you sew it all the way across, you have to make a Y-seam, and this just seemed much easier to me.
Now add the outside strips in the order shown.

At this point, you can now finish sewing the first strip on.  No Y-seams. 
I like the way the blocks now match up and it will give me lots of applique and quilting areas.  I think if you add another boarder of the outside strips, but in color, it will also frame it up very nicely for another look.  I also like the play on the background color, using all the various scraps I had (harder to see in the pictures).

Saturday, May 31, 2014

Please Like Me!

The other day I realized that I had about 300 hundred friends on Facebook & Twitter that I had no good idea who they were.  Or they were "friends" that never communicated with me.  Maybe they just stalked me, like I stalk so many others!

With the need to eliminate stress in my life, I decided to limit my friends on these social networks to people that I truly interacted with on a regular basis...family & close friends. 

That being said, I still needed my outlet for all things creative and my place to share things I've been inspired to make and hopefully to get some customers.  So my Facebook page Piney's Needle is becoming more and more active and the place to catch up on the latest news from here on the Piney.

As of right now, I'm 1 person away from having 100 likes on Piney's Needle. 

https://www.facebook.com/pages/Pineys-Needle/166274363429826?ref=hl

So, if you haven't already, click on the link above (I really hope that works, let me know if it doesn't) and "like" me!  Once I get 100 likes, I'm doing a give-away.  The lucky winner gets this wall hanging in browns, pinks, greens, & blues!

Hurry and be #100!

Friday, May 30, 2014

Going the Next Step

I have this ability to basically look at a picture of a quilt block and can figure out how to make it and it's true to say that, while we all may use the same pattern, the way we turn it or fabrics we use makes the most common pattern unique.  But usually someone else already figured out the pattern, so we are just coping what someone else has already thought of.

But tonight for the first time, I actually designed my own pattern!

I am using a common idea, but how to make it is all my own.

At least I hope it is.

I've purposely not looked on-line to see how others have created their pattern so that I didn't unknowingly copy someone else's idea.  Of course after 30 years of quilting, I've got a lot of impressions in my memories to go from.  But I still don't think my way of creating the block is going to be like anyone else's. 

Hint....I used 2 basic patterns and created mine.

The Log Cabin and the Flower Pot quilt patterns.

I'll work on it some more and hopefully by Monday, I'll have the beginnings of a quilt ready to show you.

The other thing I'm looking at is how to submit a design for fabric.  This one is way over my head, but I think my daughter and I have some great ideas.

I'm really forward to seeing what happens with these two ideas!

Thursday, May 29, 2014

My Photos for Sale & a Few Places to Connect with Me!

With the popularity of cell phone with cameras, everyone is a photographer.  But who knew that you could sell your shots so easily?

I've just set up an account that uploads my Instagram photos and any other of my personal shots that I would like to add so that they are for sale to the public.

I am no photographer, but every now and then I take a pretty good picture and people say "you should print that out".  Well, now you can!

Twenty20 Gallery has a very small collection of my shots of living in the country, shots of back country roads, sunsets, sunrises, pretty flowers and just the stuff I see everyday and love.
Check out all the options to have the pictures printed.  I'm thinking this picture my son took from the tractor will be a great gift for him as his IPhone cover or maybe a T-shirt.


http://twenty20.com/boutwell_d

Some other things I've got going on:

Don't forget that I have an Etsy store, Piney's Needle, https://www.etsy.com/shop/PineysNeedle.

I'm also writing at a new blog, sharing a little more personally about some issues I've got going on, 


You can also follow me on:

Pinterest, http://www.pinterest.com/debbout/
Instagram, http://followgram.me/debbout
Tumblr, Dreaming at Last, http://dreamingatlast.tumblr.com/

And of course on Facebook Piney's Needle.

I know...I'm everywhere!!!  Join me in my journey to create all things beautiful, be inspired, and to live out my dream!!!