Several people have asked me to do a memory quilt for them, using t-shirts and clothes from their loved ones. I've given quotes and ideas and finally someone took the next step and brought me their clothes.
I can't say that I have never made a memory quilt before. I have saved left over material from clothes that I made my children and made both of them a couple of memory quilts. However, this is the first one that I have made from the actual clothes.
I met Leah through work. In the midst of all our work related conversations and emails, we found out that we had some common interests. Leah changed jobs and we stayed connected on-line. It was through that Facebook connection that I found out that her husband had died tragically.
My heart broke. It was just a couple of months after I had lost my mother and my grandmother, so I knew, somewhat, her sorrow.....yet her's was far greater. At least I had time to say my good-byes. But Leah can tell her story so much better. Click
HERE to visit her blog and be prepared to cry, laugh, and be inspired.
Anyway....Leah and I had already been discussing a quilt before all the deaths came into our lives. This past fall she asked if I would take her husband's shirts and make a quilt. She actually drove over from North Caroline to bring me her treasures. We had such a wonderful weekend getting to know each other, face-to-face, and going over patterns. I had pulled some ideas together and the very last idea was the one I knew she was going to pick....it just seemed like Chris. It captured his love for the outdoors. I found the free pattern at
Cindy Carter's website, The Scrappy Maple Leaf.
I had told Leah it would be after Christmas before I would get started and she was fine with that. I pulled out the shirts and did the simple stuff first, removing all the buttons. I meant to get them to her for a Christmas tree ornament project....but I was a little late getting started so maybe she can do it next year.
I pulled out each shirt, trying to decide how to cut them and my scissors were ready to go to work....but I hesitated. I keep thinking of this wonderful man and where he might have worn each shirt, to church, family nights with his wife and daughter, ballgames, fishing, hunting. Finally, I said a prayer for his wife and daughter and went to cutting.
The pattern calls for lots and lots of 2 inch squares. I'm a little concerned how the jersey type material will work with the cottons and blends. Going over the pattern, I decided to change it up a bit. Instead of cutting all the material in 2 inch squares (like I did below for the first shirt), I cut the material into 2 inch strips.
Yep...that's 2 inch unfinished squares, so we are looking at 1 1/2 inch finished squares with a finished block being 10 1/2 inch.
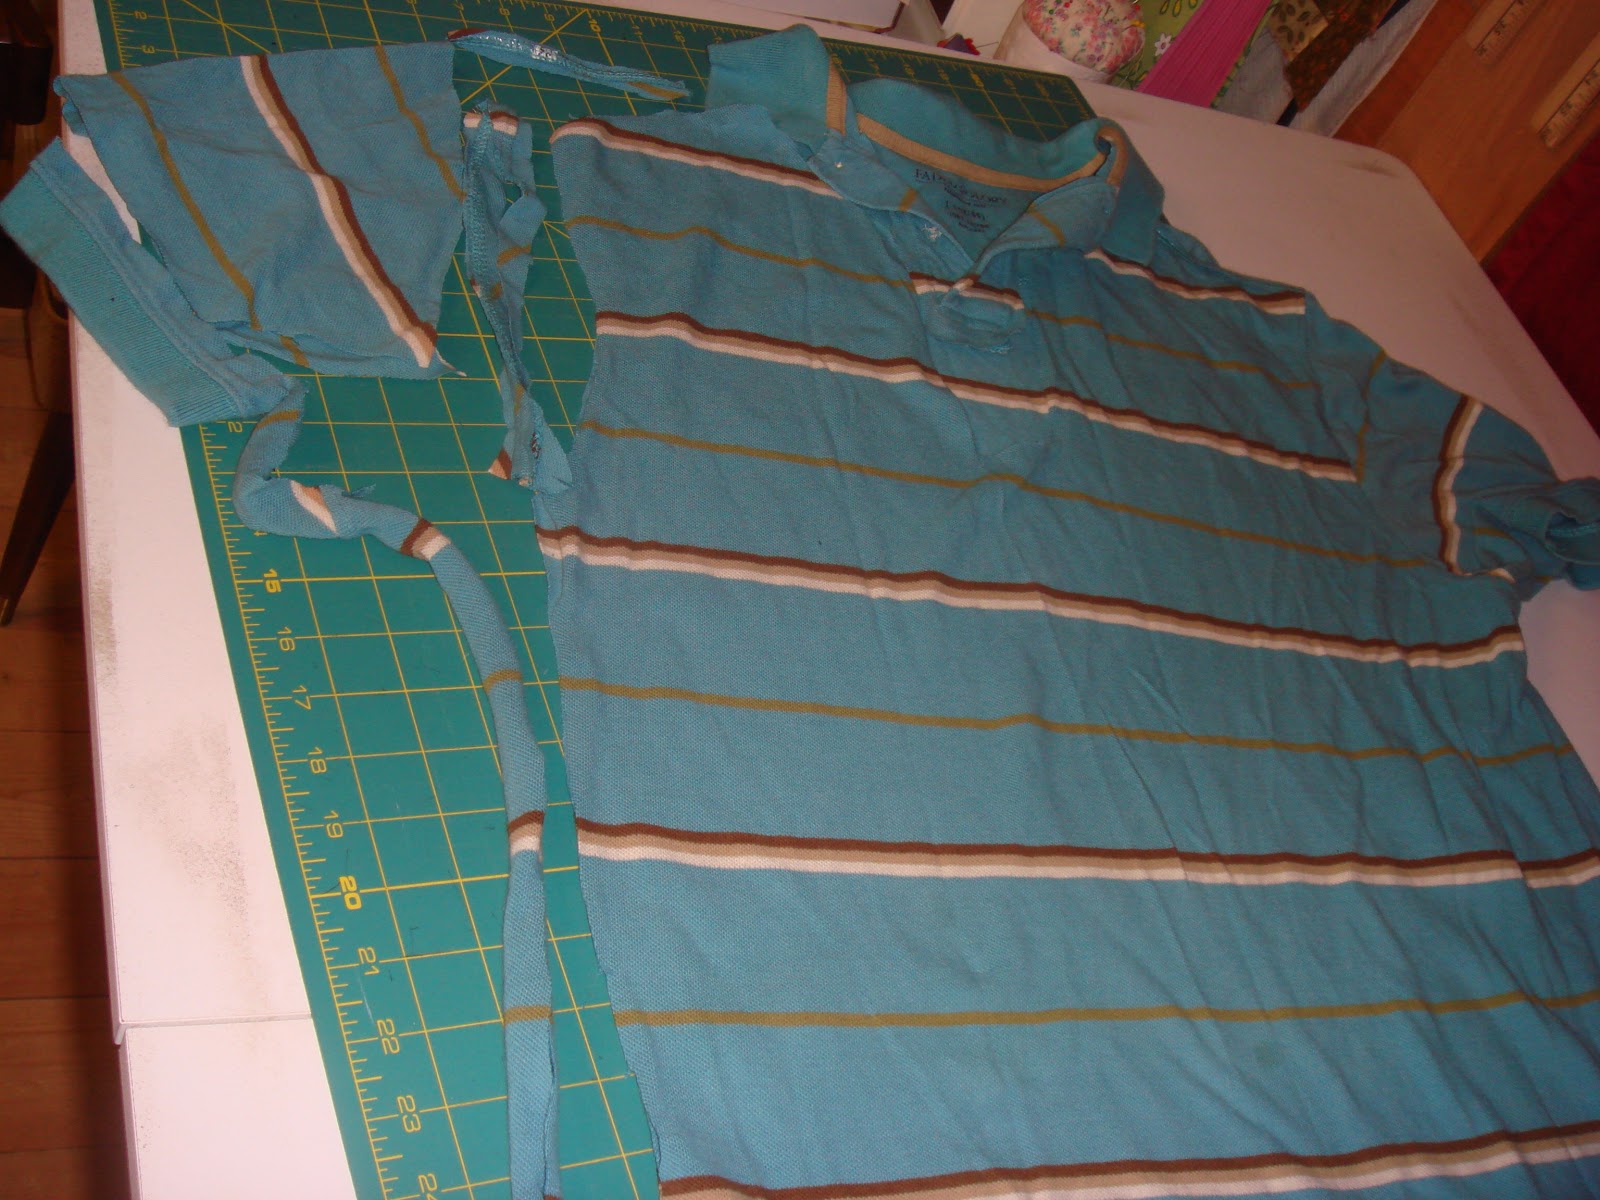
I'm going to sew the strips together in different combinations and then cut them into 2 inch strips again, of 2 or 3 colors together. Below is a picture of the beginning of the cutting. You can see that there is very little left from the shirts, just the seams, hems, and collars.
To cut each shirt, I lay it out as smooth as possible and through the seams on the sides up through the arm, removing any hem or binding on the sleeve. Then I cut around the sleeve and to the collar, around the collar and to the other side.
Now I have the shirt in its basic form again, just as if I had removed a pattern piece from it. I lay the front pieces together, square up the ends and start cutting again.
I need 3 inch strips to make the half square triangles, so I cut a few strips off the largest portions of the materials and then cut the rest in 2 inch strips.
I use every 2 inch piece I can, including any pieces from the collar, cuffs, or button hole trim that is big enough. Keeping the cottons and blends straight is fairly easy, however, the jersey pulls a little, but I think it will work out okay. I know most quilters would suggest using some time of stabilizer.....did I mention these are 2 inch individual squares!? I'm going to try and always put a cotton next to a jersey. Here's a few squares for the basic layout.
I'm using a "snow" for the background, cutting them in 3 inch strips and then 3 inch squares. It's a little bigger than really needed for making the HST, but I wasn't sure how the jersey would pull, so I went bigger.
Here's some of the 3 inch squares from the material to be matched up with the "snow" blocks.
I wanted to at least get a sample of one block made last night, so I did the basic technique for making HST, using my ruler to mark 1/4 inch on both sides from the center of the 3 inch square.
I did some chain piecing (sorry, I didn't realize the picture was sideways), sewing on both drawn lines.
Cut down the center.
Press to the dark side.
Trim to a 2 inch square.
This is not a finished block because I'll be working really hard not to use the same material in each block, but it is the basic layout of the maple leaf. I love the little green stem (again using some sample material for the steam and background material).
I think it will look nice with all the colors making the leaves and I pray that it brings some comfort to Leah when she sees it.