Oh, I know, I've set myself a huge goal for this year....but....I want to make one quilt a month! There is a reason to my madness, but can I do it? Well, by tomorrow I hope to have all the blocks for quilt #1 finished and begin the arranging and sewing the blocks together by Sunday. The pattern is called Fans & Flowers and includes lots of different techniques with lots of applique. So, while I'm fairly certain I can get the quilt top pieced by this weekend, getting all the applique done by the end of the month will be my next challenge.
The quilt pattern, Fans & Flowers calls for 2 different blocks: Grandmother's Fan & Jacob's Ladder. Each block will be 12" finished. The center of the quilt is a square with ribbon and flowers appliqued on it. Flowers are also appliqued around the layout of the Grandmother's Fan & Jacob's Ladder. I'm doing my version in shades of purple.
Making the Grandmother's Fan block - Part 1
The Grandmother's Fan is one of my favorite patterns, maybe because I remember my grandmothers with their paper folded fans tucked in their purses along with their dainty handkerchiefs. The use of different fabrics to make up the "fan" gives that look reminiscent of those folded fans.
I first transferred the pattern to plastic template paper, this brand is without grid lines, I confess to liking the grid lines, it makes it easier to get that straight line. Be sure and put basic information on your pattern. I use a fine print permanent maker. Ink pens have a tendency to smear off this plastic.
While the pattern does have a grain-line guide, I'm trying to conserve my fabric, so I simply traced around the pattern and butted the next cut right up against that. I needed a total of 16 of 6 different colors. By folding a 45" wide strip of fabric twice, I was able to get this layout and it was fairly easy to cut. I trimmed the bottom of the pieces and then the top (see above), then with a rotary cutter, I cut the straight lines.
I used a light pen marking to trace around the pattern. Pencil is also good, just make sure it is really sharp so that you don't get too thick of a cutting line.
Here's my six colors.
Now it's time for the assembly line method of piecing with the machine. I moved my stacks to the machine work-table. I sewed the fan together two pieces at a time. Be careful to sew on the correct side, so that it will open up keeping your fabric pieces in the same order as you laid them out. It's easy to flip the pieces and end up having fabrics switched in your layout.

I've been reading that instead of pressing all your seams to one side, that it might work best in some circumstances to press the seam open, especially if hand quilting or if you have dark colors that might show through on lighter fabrics. This is new for me since I've always been taught the "press to one side" method. I found that it was easier to press the seams open with my small iron first and then set them with my regular iron. You can see from the picture above that I have my ironing station set up to the left of my sewing machine. So all I have to do is turn in my chair from the machine to the iron without getting up.

All my fans are done and now it's time to add the "handle" of the fan. It's a basic curved block and when you look at the picture below, you might think the piece is too big. How do you get from this....
....to this? It's really not that hard and I don't use any pins!
I treated this just like doing the Drunkard's Path block, starting with the top corners matching but with the curved piece at an angle.
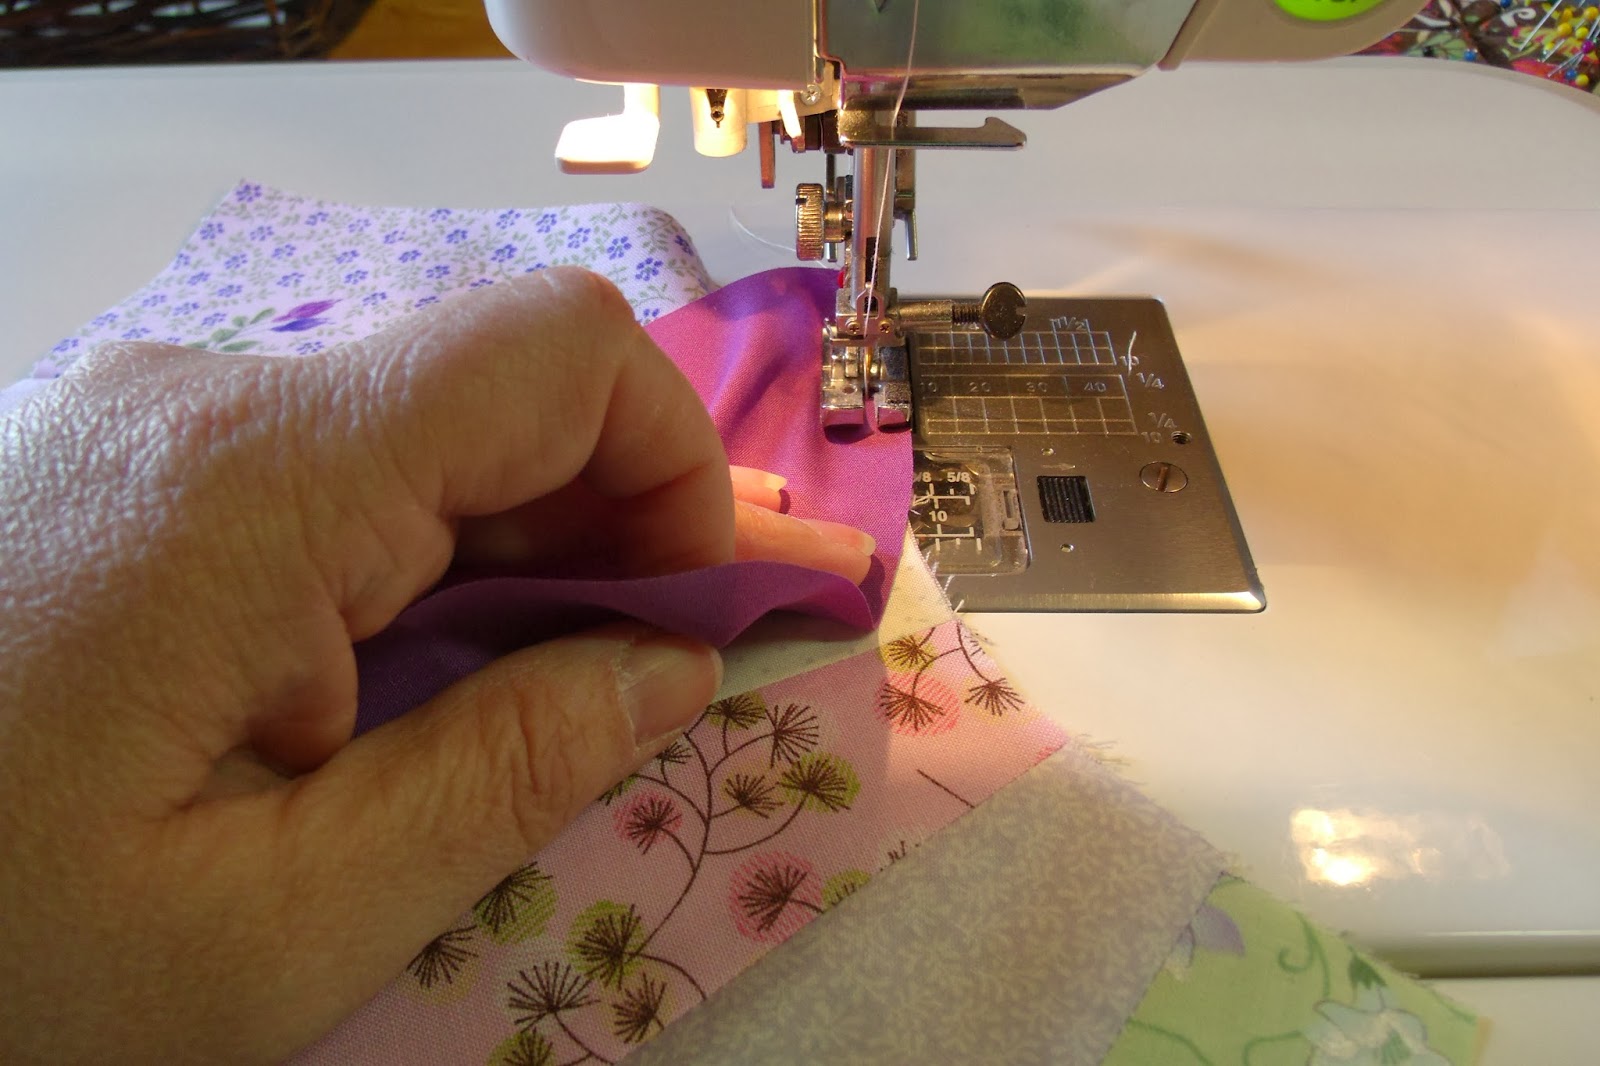
Then as I sew, I keep the bottom piece up against the 1/4" bar on my sewing foot (quilter's 1/4" sewing foot) and gently tug the top curved piece over to the edge.
Magic is about to happen so don't freak out!
Continue to gently tug the top piece over. When I got to the last panel on the fan, I lowered my needle to hold everything in place, lifted the foot and tugged the back of the fan around.
By doing this I can now align the side edges of my top and bottom piece. Lower the foot now. Holding the tip of that corner either with your finger or stiletto, continue around to the end.
Perfect and so easy! I did press the seam toward the dark on this step. I still have to add this fan to a white block and that can be done by applique or using a curved top. I'll be doing that this weekend.
Making the Jacob's Ladder block - Part 1
The Jacob's Ladder block is made up of 4-patch blocks and half square triangles. The pattern calls for 96 2-1/2" squares of a solid color and white (each). This is going to be made into a 4-patch block. Sometimes you have to cut out each individual square, but when you can...find an easier way!!!
Strip cutting and piecing is perfect for the 4-patch. You will need a strip of the two colors, 2-1/2" x width of fabric. The first time I did this, I cut my strips from the purple and then from the white. I found that I had a slight variation in my cutting and in the long run, it really shows (pictured below). So now I cut my fabrics together, layering the purple onto of the white, getting the edges even and then cutting 2-1/2" strips.
All I have to do then is put right sides together and sew those strips together.
Can you tell which strips I did like this and which were cut separately? Yea...me too! Mind you, I'm still using that strip, but I did cut some extra ones.
At this point you have two options. You can cut these sewn pieces into 2-1/2" blocks now or press the strips open and cut then (see below). I did both and I prefer cutting them before they are pressed open. It seemed to make a more precise cut.
Let me take a moment and praise on some products.
I have a new cutting board, (I'll have to add the actual product names at a later date). I love this board because it actually puts the measurements on the outside edge of the ruler so that the fabric isn't covering it up. Thank you! An that suctioned handle! My arms are a little short...to go with the rest of my body...and when cutting long strips, the ruler would usually push to one side because I couldn't hold it firmly. This handle really helps. And really important...really sharp blades on your rotary cutter and scissors...that is a must.
Okay...back to regular programing. The only draw back from cutting the strips while they are folded is that you have to press each individual block now. Sill pressing the seams open, I used my small iron on this.
Here comes the assembly line again. Turing two cut 2-1/2" strips opposite directions, match up the center seams and sew. Press the seams open and you have a nice stack of 4-patch blocks, 4-1/2" square in less than an hour!
Here's some examples of my strips being off in the cut just the slightest variation. I ended up with several that were not the correct final size. See how the white is just a tad longer. That tad can really mess me up later. So I set these aside to use somewhere else.
I now have to make the half square triangles to put with the 4-patches and finish up the fan block.
So you know what I'm doing this weekend!
What are your quilting goals for 2014?